


Virtualmin is the most popular Linux / UNIX systems management interface. Virtualmin is an open-source and free web hosting panel. With Virtualmin, we can manage websites, databases, mailboxes, and more with one simple panel. Virtualmin also offers a mobile interface for managing the servers with any device.
Supported OS
- CentOS/RHEL 7 and 8 on x86_64. 8
- Debian 10 (i386 and amd64)
- Ubuntu 18.04 LTS and 20.04 LTS i386 and amd64 (non-LTS releases are not supported)
Prerequisites
- Fresh Server with supported OS.
- 2 GB RAM (less for the –minimal installation)
- 10 GB free disk space
- Root user or another user with Sudo privileges
For this tutorial, We are using Ubuntu 20.04 operating system with 2 GB RAM and 10 GB SSD.
Set Hostname- fully qualified domain
Virtualmin installation requires a fully qualified hostname of the server. It can be a subdomain as well. Run the following command to set a fully qualified hostname on the server.
sudo hostnamectl set-hostname server.domain.com
Replace server.domain.com with your desired hostname.
Create Swap file
When the system runs out of memory, a swap file is created on a solid-state drive or hard disc to provide temporary storage space.
- The swap file is recommended for better performance. The swap file must be Double in the size of RAM. Run the following command to check the RAM of the server.
sudo free -h
With the above command, you can check both RAM and SWAP.
- Allocate the free space for the Swap file. We have 2 GB of RAM on the server, so we need to create 4 GB of Swap file. Run the following command to create 4 GB of Swap file.
sudo dd if=/dev/zero of=/swapfile count=4696 bs=1M
Change the value of count as per your Server’s RAM.
- Run the following command to change the Ownership of the Swap file.
sudo chown root:root /swapfile
- Change the permission of the Swap file, so that other users can’t modify the Swap file.
sudo chmod 0600 /swapfile
- Setup the Swap file with the following command.
sudo mkswap /swapfile
- Run the following command to enable the Swap file.
sudo swapon /swapfile
- After enabling the Swap, we need to make the Swap file permanent. Otherwise, after reboot, Swap will automatically be deleted from the server. To make Swap permanent, we need to pass an entry in the /etc/fstab file.
Run the following command to open the /etc/fstab file.
vim /etc/fstab
- Enter the following data in the /etc/fstab file.
/swapfile swap swap defaults 0 0
- Now check the configuration which we have made above is correct or not with the following command.
mount -a
If the above command gives any type of error. It means you have made an incorrect entry.
- We have successfully created the Swap file, to check the Swap file run the following command.
sudo swapon -s
- For the better utilization of the Swap file, we need to adjust the swappiness value. Check the swappiness value with the following command.
cat /proc/sys/vm/swappiness
- Now set the swappiness value to 10 with the following command.
sudo sysctl vm.swappiness=10
- To make the swappiness value permanent, edit the /etc/sysctl.conf file.
vim /etc/sysctl.conf
- Enter the following entry in the /etc/sysctl.conf file.
vm.swappiness=10
Install Virtualmin
- Update the server repositories and packages with the following command.
Ubuntu/Debian
sudo apt update -y
CentOS/RHEL 7
sudo yum update -y
- Install the wget package on the server.
Ubuntu/Debian
sudo apt install wget -y
CentOS/RHEL 7
sudo yum install wget -y
- Download the Virtualmin installation script with the following command.
wget https://software.virtualmin.com/gpl/scripts/install.sh
- Grant the execution permission with the following command.
chmod a+x install.sh
- The List of available options in the Virtualmin script is as follows.
--uninstall|-u - Removes all Virtualmin packages (do not use on a production system)
--help|-h - This message
--force|-f - Skip confirmation message
--hostname|-h - Set fully qualified hostname
--verbose|-v - Verbose
--setup|-s - Setup software repositories and exit (no installation or configuration)
--minimal|-m - Install a smaller subset of packages for low-memory/low-resource systems
--bundle|-b <name> - Choose bundle to install (LAMP or LEMP, defaults to LAMP)
Note – Choose the installation type as per your requirement then run the installation command. The installation process will take time. So use the screen command to run the installation script in the screen session.
- To install Virtualmin Minimal, run the following command.
sudo sh install.sh -m -y
- To install Virtualmin Minimal with Nginx, run the following command.
sudo sh install.sh -m --bundle LEMP -y
- To install Full Virtualmin, run the following command.
sudo sh install.sh -y
- To install Full Virtualmin with Nginx, run the following command.
sudo sh install.sh --bundle LEMP -y
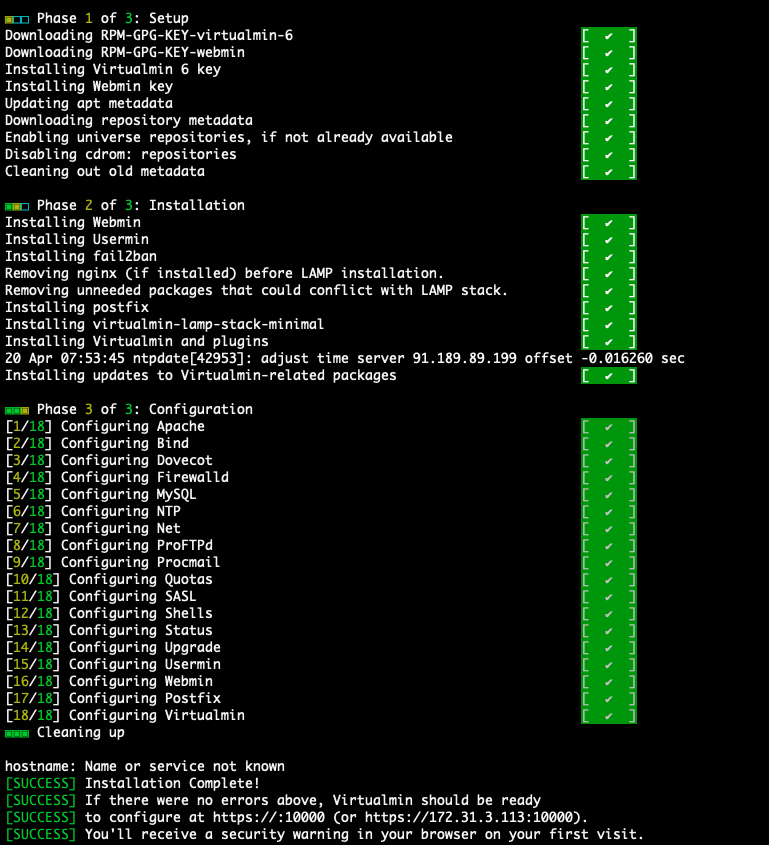
- After running the installation command, The script will start installing all the required packages. The installation will look like this.
Post Installation Wizard
Login to the Virtualmin Panel with the following URL. Replace the Server_IP with your server’s public IP.
https://Server_IP:10000
- Enter the User and Password. Use the credential of the Root user.

- Click on the Next button.

- Click on the Next button.

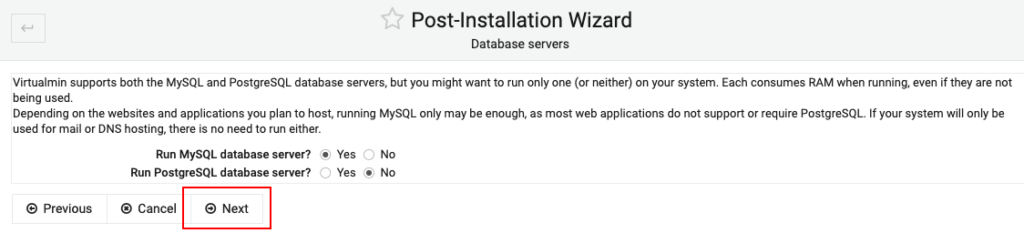
- If you want to use the PostgreSQL database server, then select the second option. Otherwise, leave it to default. Click on the Next button.
- Copy and save the MySQL password and then click on the Next button.

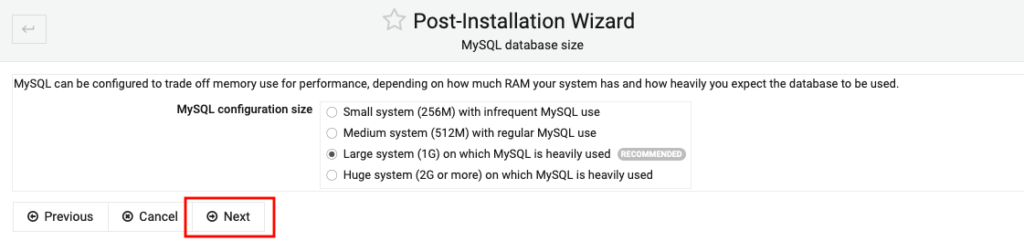
- Leave it to default and click on the Next button.
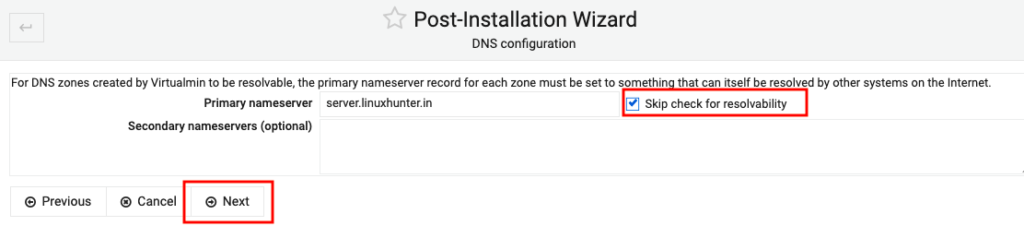
- Check Mark the Skip check for resolvability and Click on the Next button.
- The post-installation configuration is completed. Now configure optional features, click on the Next button.

- If you want to store all the passwords in the encrypted form, then choose the second option. Otherwise, leave it to default and click on the Next button.

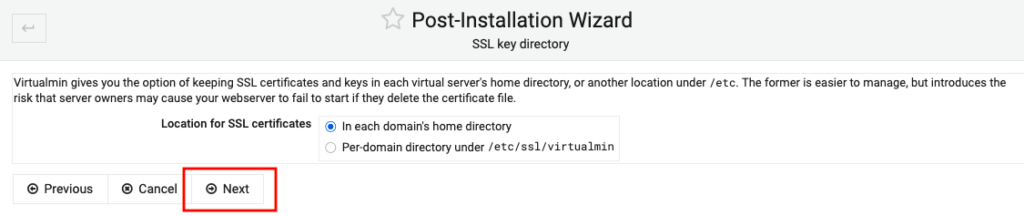
- If you want to store all the SSL certificates in /etc/ssl/virtualmin then choose the second option. Otherwise, choose the first option and click on the Next button.
- Check mark the No, thanks option and click on the Next button.

- Now click on the Finish button.

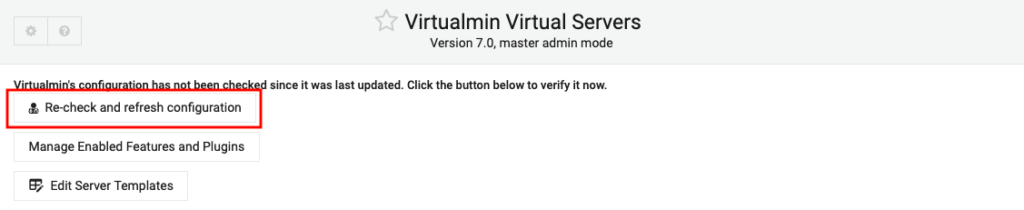
- Click on the first option to check and apply the configuration which you have made above.
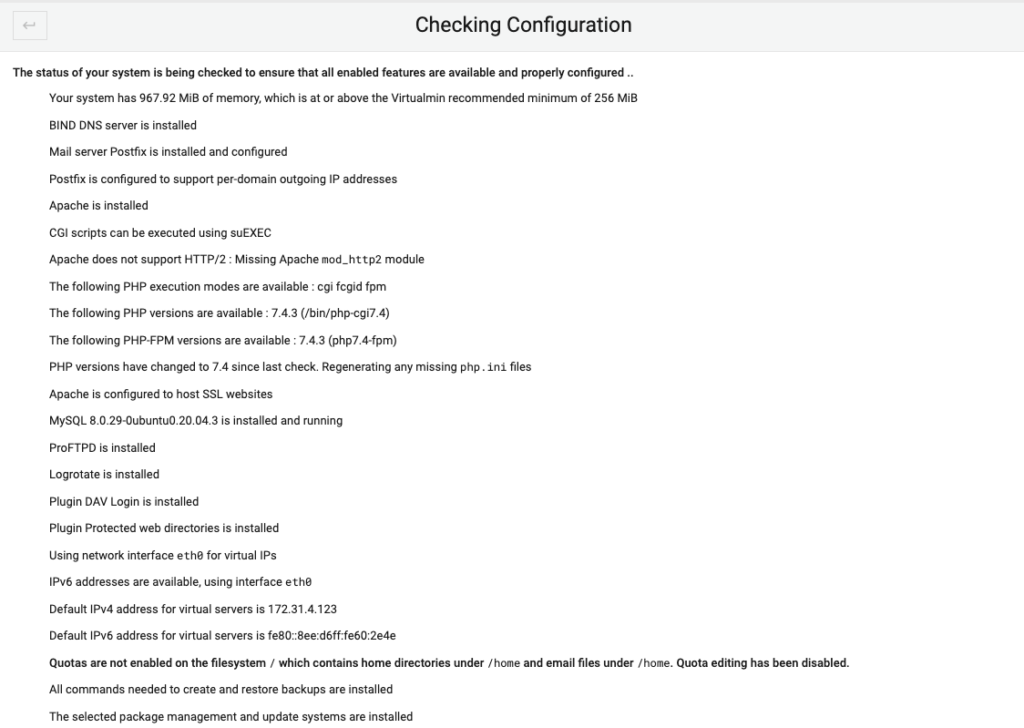
- Virtualmin check the configuration like this.
- Now you can host any domain, by clicking on the Add new virtual server button.

Conclusion
In this tutorial, we have learned about the Virtualmin, its minimum requirement, and how we can install the Virtualmin as per our requirements. We have also learned about Swap and its requirement and how we can create the swap file on the server.
If you guys have any queries, let me know in the comments section