

Teleport is an open-source project which is designed to offer swift, secure and effective access to your infrastructure. It offers secure access to SSH, Windows desktops, Windows Server, Database, Kubernetes clusters, version control platforms and web applications. Setting up is very easy, whether we can deploy it as a Linux daemon or within a Kubernetes pod.
Teleport also offer an Enterprise version with some enterprise level feature. Teleport Enterprise is a commercially available product developed based on Teleport’s open-source core technology.
For a comprehensive understanding of Teleport, then click here.
Feature of Teleport –
It offers a variety of features to enhance the management and security of our infrastructure:
- Unified Secure Access: Teleport works as a secure gateway, providing secure access to SSH servers, databases, Kubernetes clusters, Windows desktops, and also supports private web applications.
- Fine-Grained Access Control: Teleport supports Role-Based Access Control (RBAC) to define detailed access permissions for different parts of your infrastructure.
- Comprehensive Audit Trail: Teleport maintains session recordings and detailed audit logs of all user activities, offers a robust auditing mechanism for your infrastructure.
- Device Trust Assessment: Assess device trustworthiness before granting access, ensuring secure connections to your infrastructure.
- Centralized Identity and Access Management (IAM): Manage users, permissions and roles across all infrastructure from a centralized Teleport console, ensuring secured access control.
- Just-in-Time Access: Users can request access to specific resources as needed, enhancing security by limiting access to necessary functions only.
- Passwordless Authentication: Teleport supports passwordless authentication using FIDO2 WebAuthn, enhancing user convenience and security.
- Self-Hosting Capability: Teleport Community Edition can be hosted on our own infrastructure, giving you control over your security environment.
In addition to these core features, Teleport Community Edition offers:
- Single Sign-On (SSO) Integration: Seamlessly integrate with popular SSO providers like Azure Active Directory, Google Workspace and many more for simplified user access management.
- Multi-Factor Authentication (MFA): Support for various MFA (Multi-Factor Authentication) methods such as hardware tokens, email and SMS, adding an extra layer of security.
- Compliance Reporting: Generate detailed reports to demonstrate compliance with security standards, ensuring your infrastructure meets necessary regulatory requirements.
Teleport Community Edition is a robust and versatile platform which safeguarding access to diverse infrastructure components while offering ease of management and flexibility.
Read Also: How to Set Up SSH Key-Based Authentication
Supported OS
| Operating System | teleport Daemon | tctl Admin Tool | tsh and Teleport Connect User Clients [2] | Web UI (via the browser) | tbot Daemon |
|---|---|---|---|---|---|
| Linux v2.6.23+ (RHEL/CentOS 7+, Amazon Linux 2+, Amazon Linux 2023+, Ubuntu 16.04+, Debian 9+, SLES 12 SP 5+, and SLES 15 SP 5+) [3] | yes | yes | yes | yes | yes |
| macOS v10.13+ (High Sierra) | yes | yes | yes | yes | yes |
| Windows 10+ (rev. 1607) [4] | no | no | yes | yes | no |
Prerequisite
- Linux based Server (such as Ubuntu 22.04, CentOS 7).
- Fully Qualified Domain Name which must be pointed on the Linux server which we will use.
- Access of Root or Sudo user.
Installation
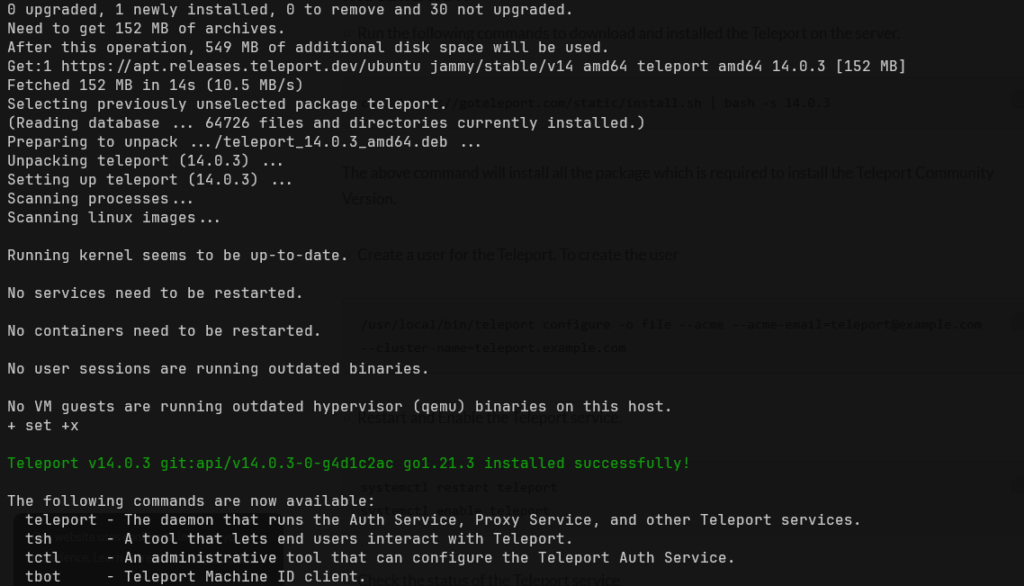
- Run the following commands to download and installed the Teleport on the server.
curl https://goteleport.com/static/install.sh | bash -s 14.1.0
The above command will install all the package which is required to install the Teleport Community Version. You will get an output like this after it got successfully installed on the server.
- Now create the new configuration with the following command. Run the following with your Email and Domain name.
/usr/local/bin/teleport configure -o file --acme [email protected] --cluster-name=teleport.tectutorials.com
- Restart and Enable the Teleport service.
systemctl restart teleport
systemctl enable teleport
- Check the status of the service
systemctl status teleport
Make sure the service is in an active state.
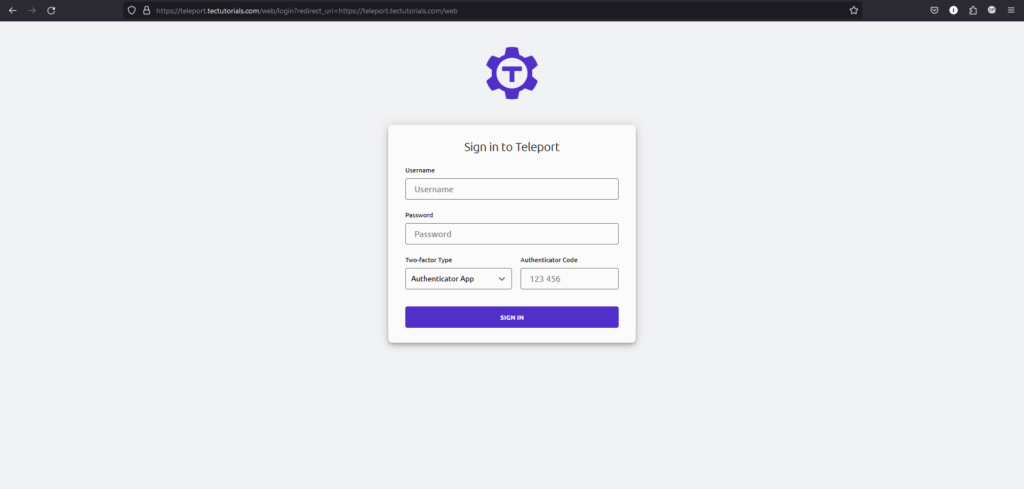
- To access the Dashboard, simply hit the domain name which you have entered the above commands.
Setup the Teleport
Now we need to create an Admin user to log into the Dashboard.
- Run the following command to create an admin user named as teleport-admin .
tctl users add teleport-admin --roles=editor,access --logins=root,ubuntu,ec2-user,centos
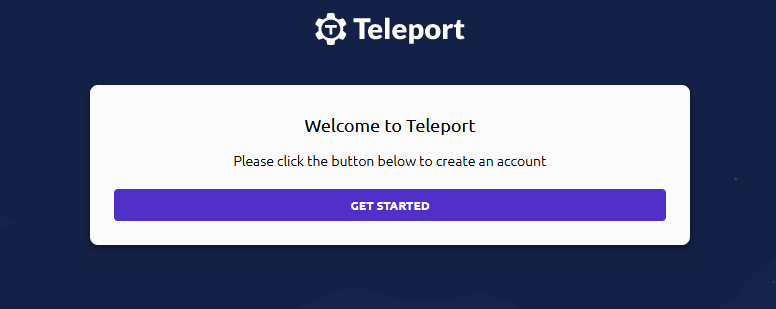
After executing the above command, you will get a link. Simply copy and paste the link in the browser.

- Click on the GET STARTED button.
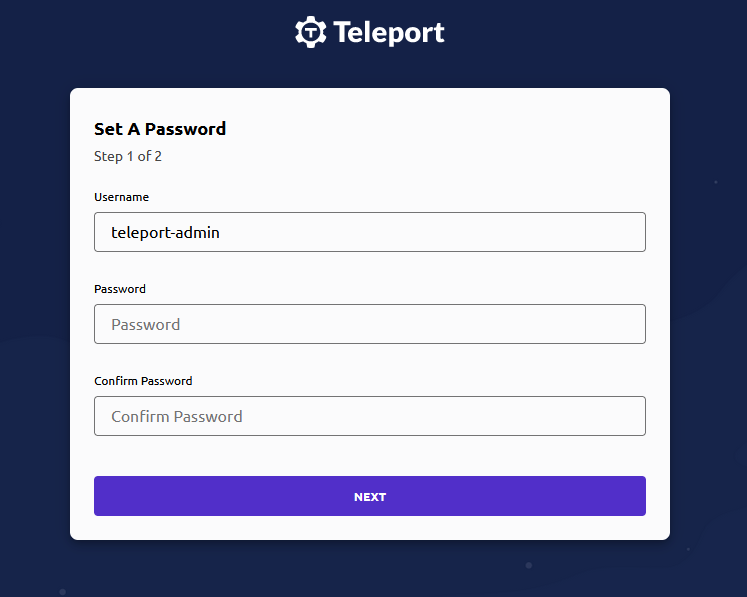
- Set a strong password for the Admin user and then Click on the Next button.
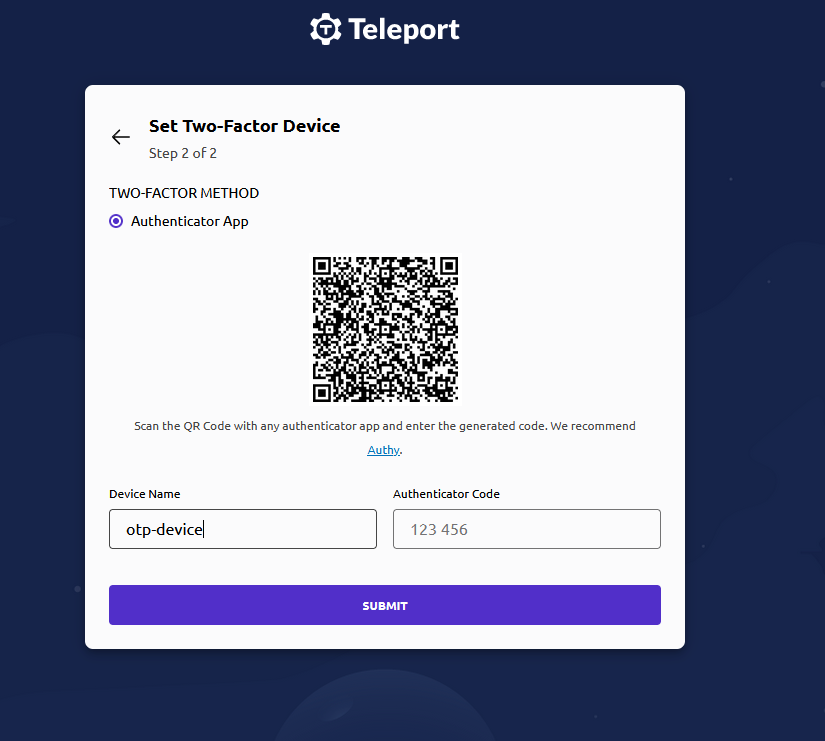
- Setup Authenticator app and enter the authentication code. Now click on the SUBMIT button.
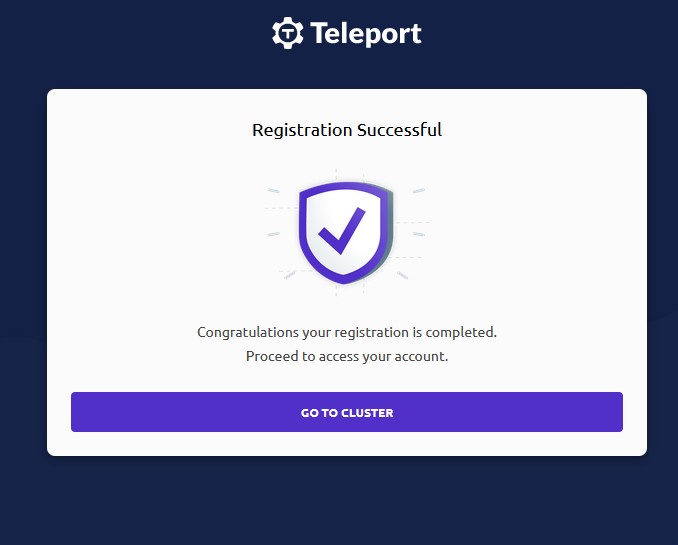
- You have successfully setup the Dashboard.
Add Server on the Teleport with Agent
To connect the host server with Teleport Agent, follow the below simple steps.
- Click on the Enroll New Resource button.

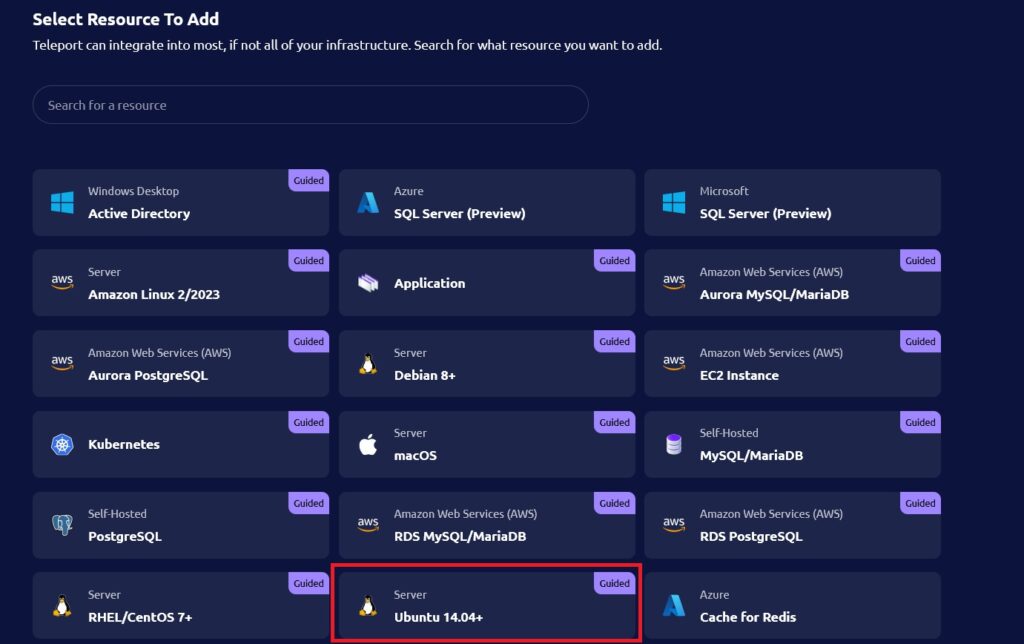
- Now select the Resource type which you want to add. For this tutorial, we are selecting Ubuntu 14.04+ option to add an Ubuntu server on the Teleport.
- Copy and the paste the command on the Host Server. The dashboard will automatically detect the host server after executing the command on the host server. Now Click on the Next button.
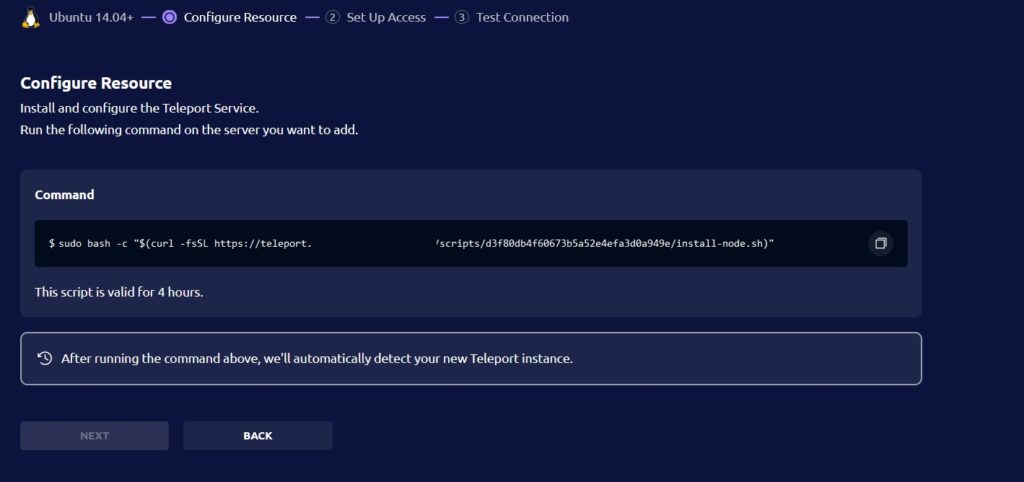
The above command will install all the packages which are required to connect the host server with the Teleport.
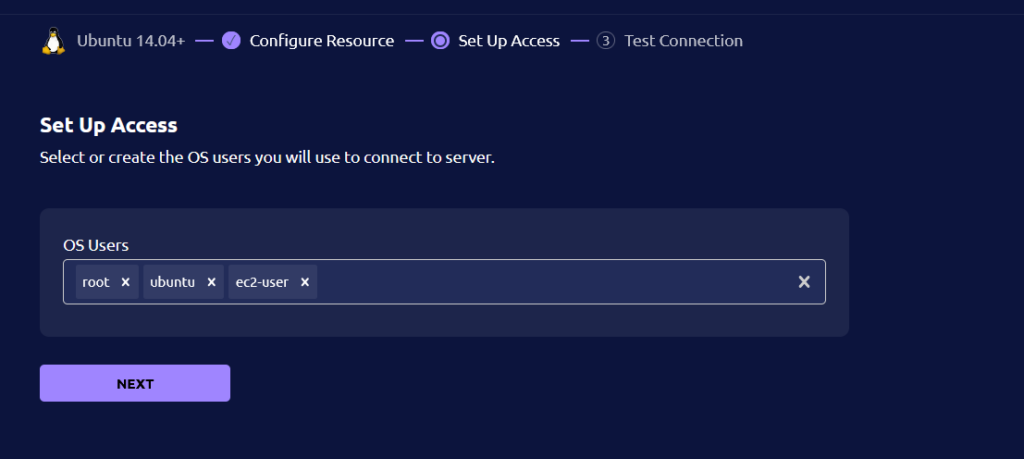
- Enter the Users from which you want to log into the host server and then Click on the Next button.
- Now select the user and then Click on the TEST CONNECTION button to test the SSH connection. After testing, click on the FINISH button .

We have successfully connected our First host server on the Teleport
Add Server on the Teleport with Agentless (OpenSSH Integration)
To add the server on Teleport Dashboard with Agentless (OpenSSH Integration) technique, follow the below steps.
- Log into Teleport with command line utility, run the following command on the Teleport server with the admin user and Domain.
tsh login --proxy teleport.tectutorials.com --user teleport-admin
For login, you need to enter the password and the Authentication code.
- Now create a file named as server.yaml to add host server.
cat << EOF >> server.yaml
kind: node
version: v2
sub_kind: openssh
metadata:
  labels:
    env: Linux_servers
spec:
  addr: 13.235.83.168:22
  hostname: First-Node
EOF
In the above YAML file, we have used label (env: Linux_servers) as group name and hostname to define a name for the server. We can enter the group and server name as per our choice but make sure to use ssh port just after the server IP.
- To add the server to the dashboard, run the following.
tctl create server.yaml
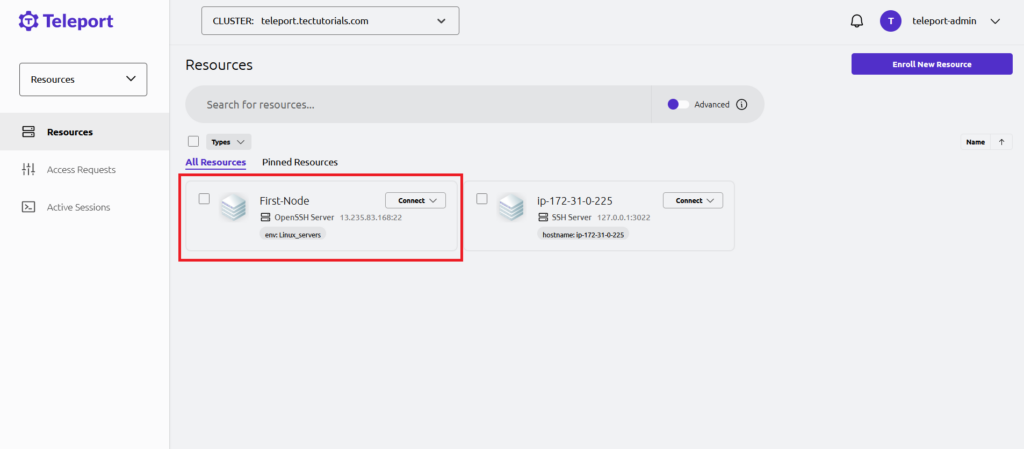
After executing the above command, we can see the server is added in the Dashboard. But still, Teleport is unable to connect to the server with ssh.
- List the host server with the following command.
tsh ls -v

- Copy Node ID, Node Name and IP. Run the following command with Node ID, Node Name and IP.
ADDR="3a1031b5-d69a-4bc6-b3a5-346b4746ac9e,First-Node,13.235.83.168"
- Now we need to create SSH host certificates to setup connectivity between the Teleport and the host server.
tctl auth sign --host=${ADDR?} --format=openssh --out=Teleport-host
The above command will create 2 files named as Teleport-host, Teleport-host-cert.pub
- Run the following command to obtain SSH CA certificate.
tctl auth export --type openssh | sed "s/cert-authority\ //" > Teleport-host-ca.pub
It will create another file named as Teleport-host-ca.pub
- Now copy these 3 files from Teleport server to host server at “/etc/ssh” and set the permission of these file to 600. So, that only Root user and access these files.
chmod 600 Teleport-host Teleport-host-cert.pub Teleport-host-ca.pub
- Copy and paste the following command at the end of the “/etc/ssh/sshd_config” file.
TrustedUserCAKeys /etc/ssh/Teleport-host-ca.pub
HostKey /etc/ssh/Teleport-host
HostCertificate /etc/ssh/Teleport-host-cert.pub
- Restart the SSH service with the following command.
systemctl restart sshd
- Check the status of SSH service with the following command.
systemctl status sshd
We have successfully added the host server on Teleport with Agentless (OpenSSH Integration). Now we can connect the host server from the Dashboard.
Note:- If due to any reason, SSH service got failed. Then immediately comment the three lines which we have added in the “/etc/ssh/sshd_config” file and again restart the SSH service. Now to fix the issue, try to paste the three lines at different place instead at the end of “/etc/ssh/sshd_config” and again restart the SSH service.
Useful Teleport Commands and User Roles
- To login into Teleport from command line.
tsh login --proxy new.tectutorials.com --user teleport-admin
- To list the host connected.
tsh ls -v
- To delete the Host (Resource).
tctl rm node/node-id
- To list the Teleport Users
tctl users ls
tctl get user
- To delete the user
tctl users rm username
- To update the roles of a user. Mention the username and user role name with coma in the below command.
tctl users update username --set-roles=editor,auditor
- User Role to allow seeing all the session Recording
kind: role
metadata:
  name: view-all-recordings
spec:
  allow:
    rules:
    - resources:
      - session
      verbs:
      - read
      - list
  deny: {}
version: v5
- User Role to allow connecting to all the servers present in the Dashboard.
kind: role
metadata:
  name: Server Access
spec:
  allow:
    logins:
    - ubuntu
    - root
    - '{{internal.logins}}'
    node_labels:
      '*': '*'
  deny: {}
  options:
    cert_format: standard
    create_db_user: false
    create_desktop_user: false
    desktop_clipboard: true
    desktop_directory_sharing: true
    enhanced_recording:
    - command
    - network
    forward_agent: false
    idp:
      saml:
        enabled: true
    max_session_ttl: 30h0m0s
    pin_source_ip: false
    port_forwarding: true
    record_session:
      default: best_effort
      desktop: true
    ssh_file_copy: true
version: v5
- User Role to only allow server who have a specific env value. The following policy will allow accessing all the servers who contain management as the value of env.
Conclusion
Certainly! Here’s a similar piece of content:
In DevOps, Teleport serves as an essential tool for seamless access to a variety of resources, including SSH and Windows servers, Kubernetes environments, databases, AWS Console, and web applications. Teleport revolutionizes security practices by shifting away from conventional static credentials. Teleport’s advanced security framework not only safeguards against phishing attacks but also fortifies the system against potential attacker pivots. By embracing the Zero Trust design, It ensures a highly secure environment, where trust is never assumed, making it a vital asset for any DevOps team striving for robust and reliable access controls.
If you have any questions and queries then you can ask me in the comments sections.