


Amazon Web Services (AWS) is one of the leading platform which offers more than 200 fully featured services from data centers located all over the world. EC2 (Amazon Elastic Compute Cloud) is one of the most popular AWS services. EC2 allows you to launch a variety of cloud instances and pay on the basis of usage. Amazon EC2 lets you manage your computing resources at the operating system level while using Amazon’s infrastructure.
The Amazon EC2 service allows you to scale compute capacity up and down quickly as your computing needs change, without having to wait days or weeks for new instances to be obtained and booted. The Amazon EC2 service allows you to build and configure your instance according to your preferences, including your operating system and applications.
In today’s tutorial, we will learn to launch and configure an Amazon EC2 instance using the AWS Management Console with easy and simple steps.
Prerequisite
- Need a verified AWS account.
- Basic knowledge of AWS
Launch the Linux instance
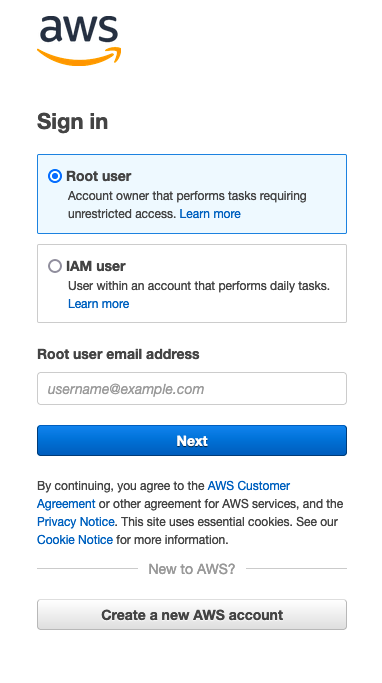
- Log into your AWS account.
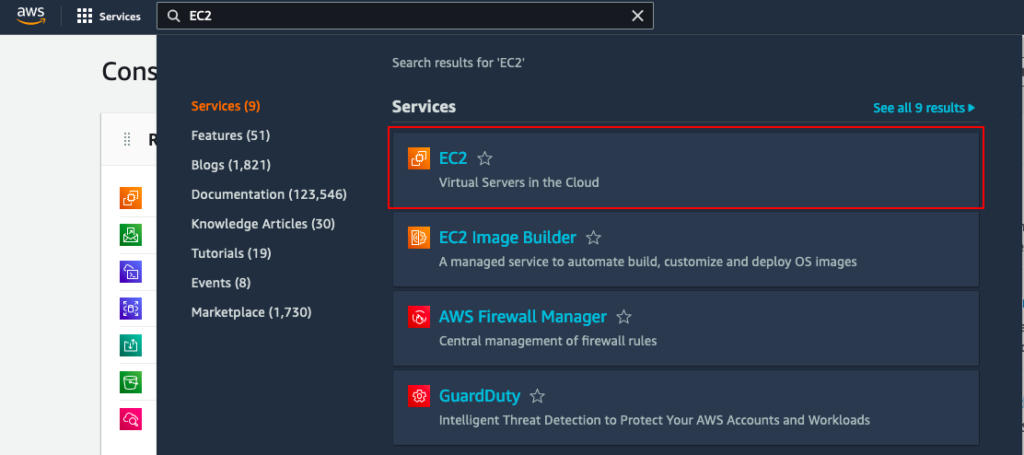
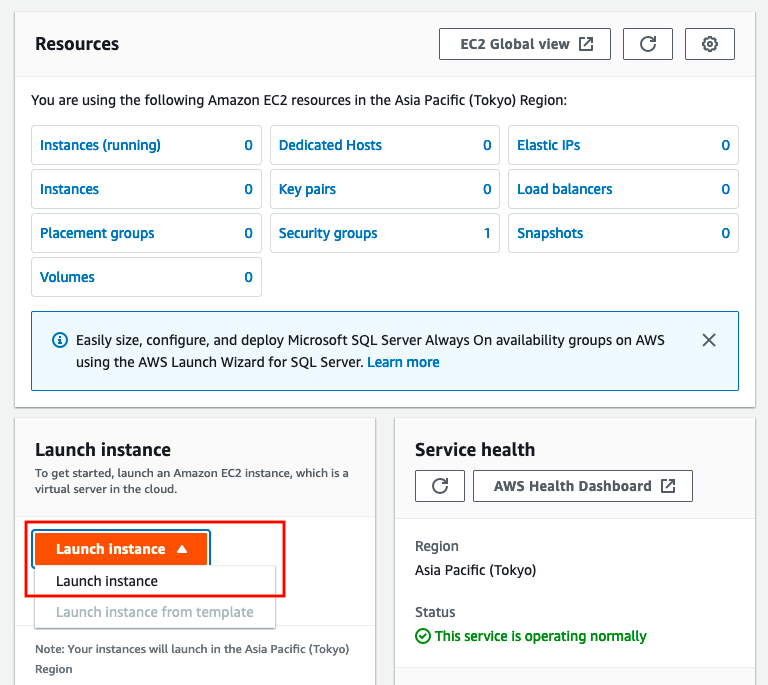
- Search for the EC2 service in the AWS console.
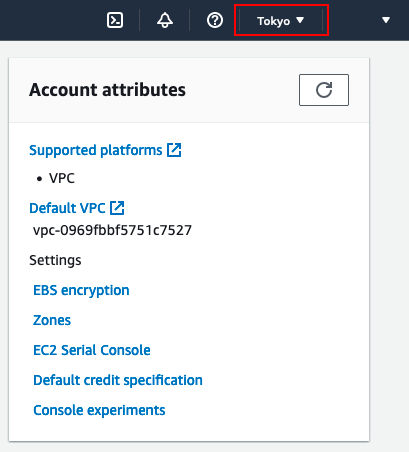
- From the right-hand side, select the Region that where you want to launch the server.
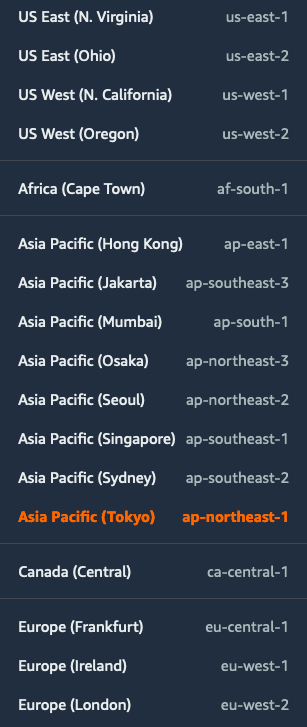
- AWS offers a wide range of Data centers all over the world. The list of available AWS regions is as follows. Choose the regions as per your needs.
- Click on the Launch instance icon.
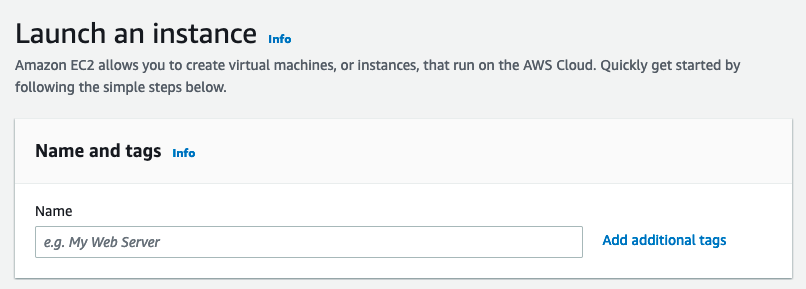
- Enter a name for the instance.
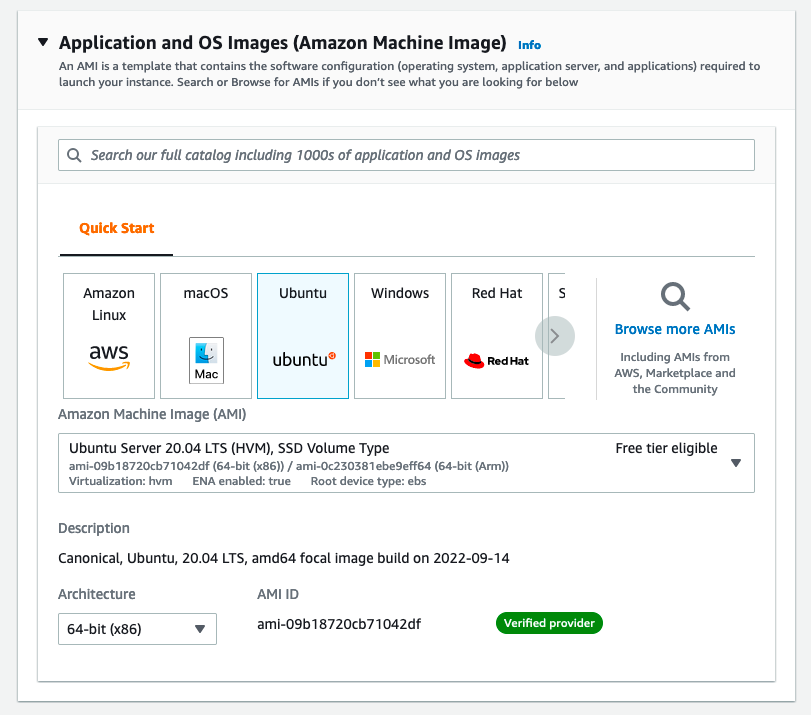
- Choose the operating system for the Linux server and then select the Amazon Machine Image (AMI). We use the Ubuntu 20.04 operating system (Free tier) for this tutorial.
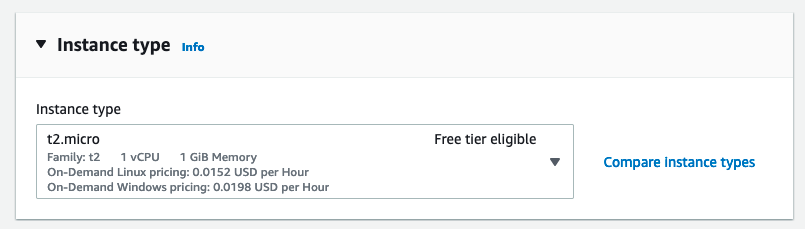
- Select the instance type as per your requirement. For this tutorial, we are using t2.micro (free tier) which offers 1 GB of RAM and 1vCPU.
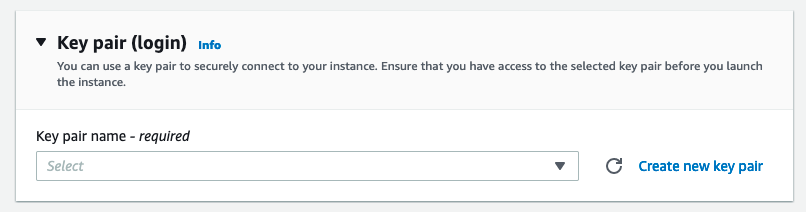
- Select the existing key pair or create a new key pair for the new Linux instance.
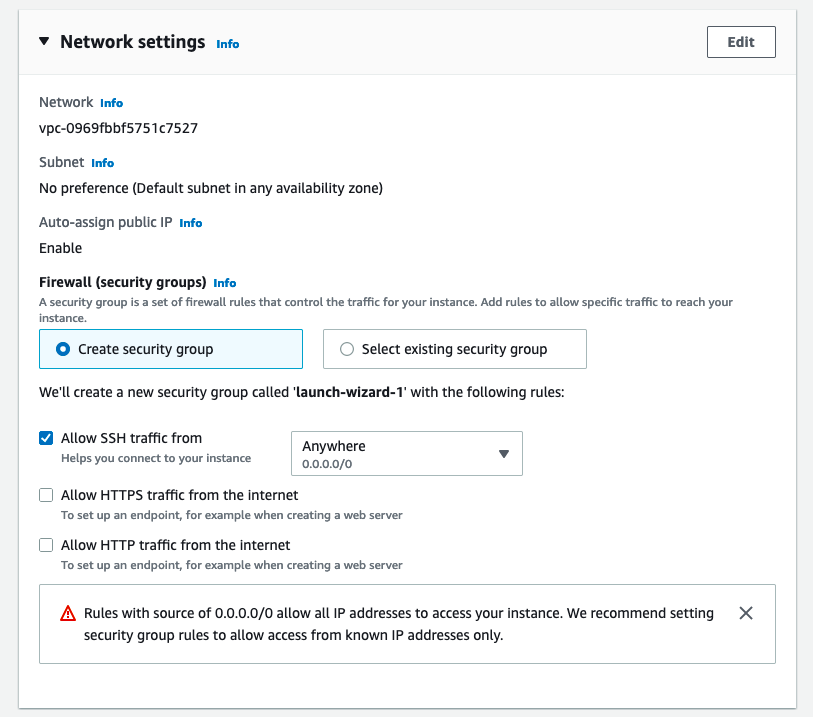
- Under the Network setting, Create a new security group or select the existing security group. In the security group, we define inbound and outbound rules which act like firewalls. Define all the ports which you want to allow such as SSH (22), FTP (21), HTTP (80), HTTPS (443) etc.
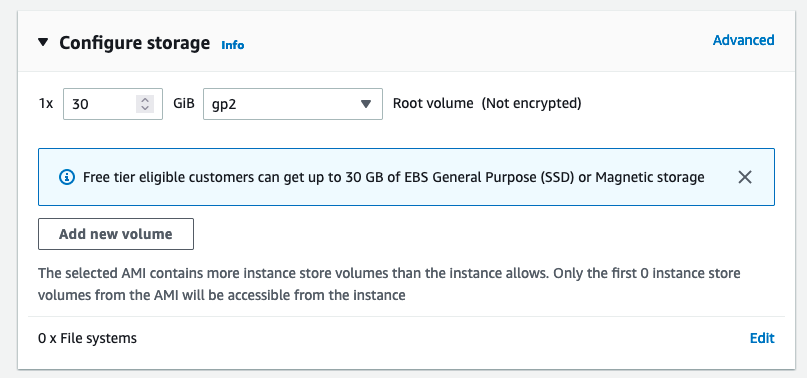
- Select the storage for the new Linux instance. AWS offers free 30 GB Amazon Elastic Block Storage (EBS) under the free tier. So, we are choosing 30 GB of free storage. Leave the rest of the settings to default.
- Click on the Launch instance button to create the Linux instance.

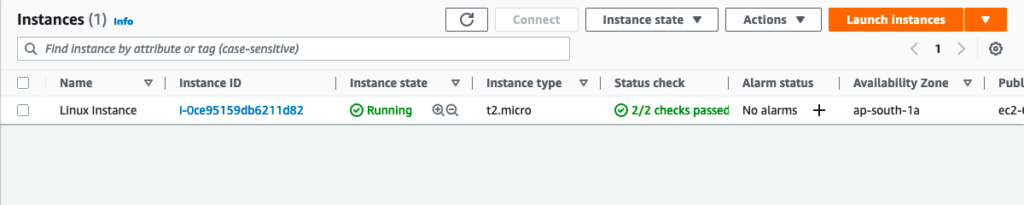
- After launching the instance, Click on the View all instances button to see the list of instances.
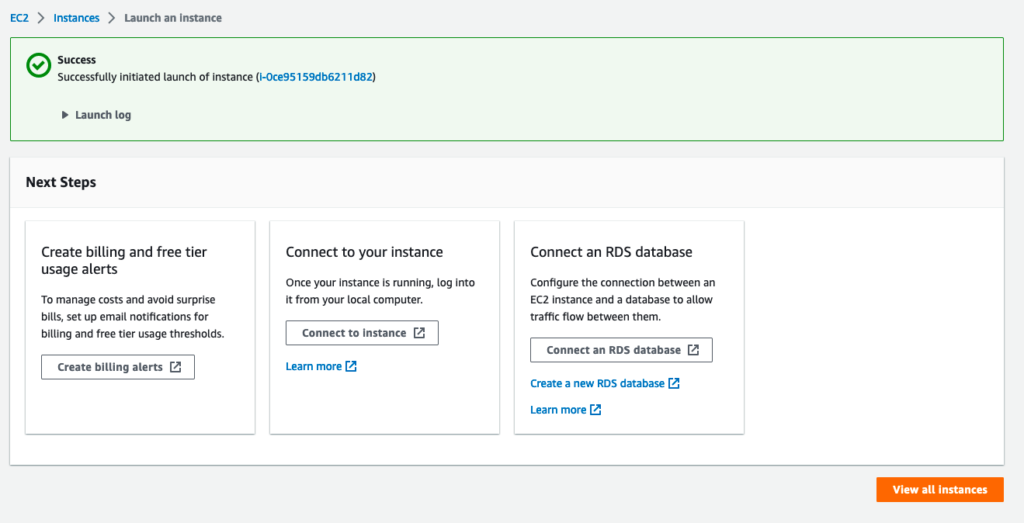
- As you guys can see, we have successfully launched the Linux instance.
Allocate and Associate the Elastic IP to Linux Instance
When we launch a new EC2 Instance, our instance will be assigned a public IP address. This IP address is not static. If we stop and start the instance, then the IP address will be changed, and a new IP address will be assigned to the instance. To prevent this, we need to set a static IP address for every new instance.
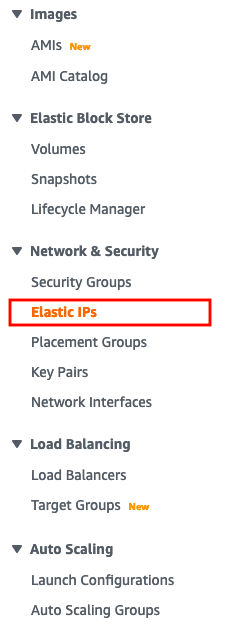
Allocate the Elastic IP Address
- Under the Network & Security section, click on the Elastic IPs option.
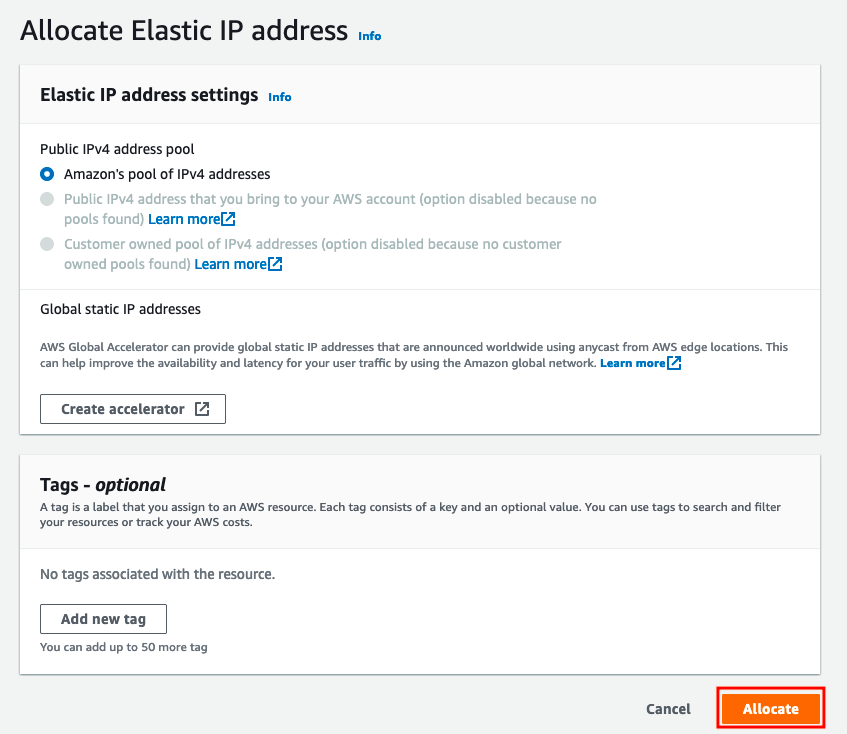
- Click on the Allocate Elastic IP address option.

- Click on the Allocate button.
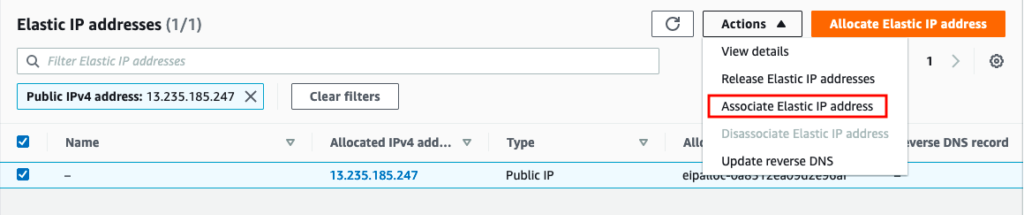
Associate the Elastic IP Address
- Select the newly allocated Elastic IP and then click on the Action button and choose the Associate Elastic IP address option.
- Select your Instance and then click on the Associate button.
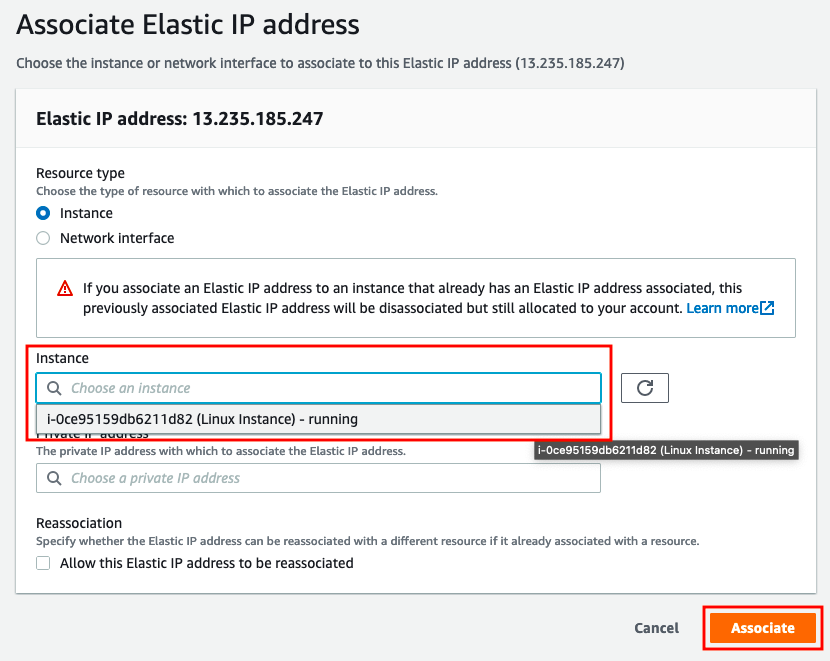
Now, our Linux instance has a static IP address that will not change even if stop and start the instance.
Connect Linux instance
To connect to the Linux instance. Simply, run the following command.
ssh User@Server_IP -i Path/of/SSH/Key
We can also connect the Linux instance with the AWS Dashboard. To connect the newly launched Linux instance with AWS Dashboard, simply follow the below steps.
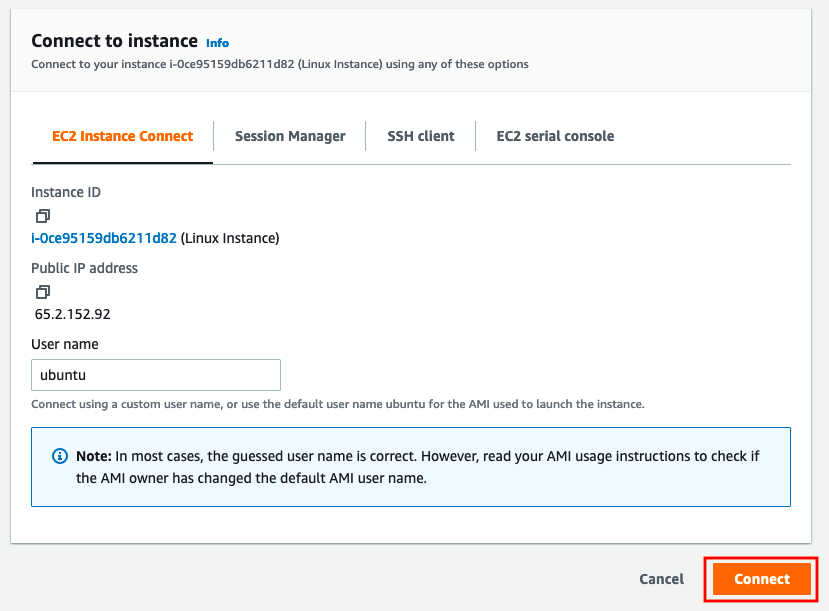
- Select the instance to which you want to connect and then click on the Connect button.

- Click on the Connect button. To connect to the Linux instance.
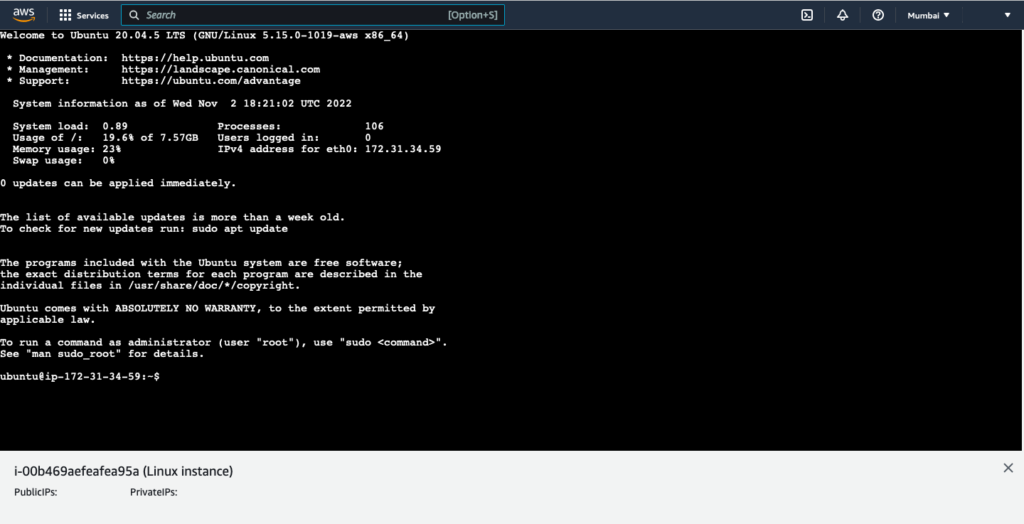
- As you guys can see, we have successfully connected the Linux instance through the AWS console.
Conclusion
In today’s tutorial, we have learned to launch and configure the Amazon EC2 Linux instance. AWS also offers other famous services such as RDS (database), S3 bucket, Route53, CloudFront, etc. In the near future, we will also learn about other AWS services.
If you guys have any questions or queries, then let me know in the comments section.