


The Jenkins platform is a Java-based Continuous Integration and Continuous Delivery platform, which builds, checks, and deploys different types of applications and projects. A bundle of plugins, including pipeline and email extensions, makes Jenkins the perfect automation server for testing and building software development projects.
Continuous integration (CI) and continuous delivery (CD) are essential for understanding Jenkins:
- Continuous integration – It is a process of integrating all development work as early as possible, which automatically creates and tests the resulting artifacts. This allows us to identify errors at an early stage in the project.
- Continuous delivery – It refers to the automated process of building, testing, configuring, and deploying software from a development environment to a production one
Jenkins is loved by teams of all sizes, for different language projects like Java, Ruby, Dot Net, PHP etc. It is a platform that is autonomous and can be used on Windows, Linux or any other operating system.
In today’s tutorial, we will learn how to install and configure Jenkins on Ubuntu 20.04 with easy and simple steps. You can follow the same tutorial to install Jenkins in Ubuntu 18.04
Prerequisites
- Hardware Requirements:
- 4 GB of RAM (Recommended)
- 50 GB of Hard Disk Space (Recommended)
- Software Requirements:
- Java – Java Development Kit (JDK) or Java Runtime Environment (JRE) to support the Jenkins
- Web Browser – Any browser such as Mozilla Firefox, Google Chrome, etc.
- Operating System – Ubuntu 20.04, Ubuntu 18.04.
- Access of Root user or any other user with Sudo privileges.
Installation Procedure
The Ubuntu repositories may not offer the latest Jenkins package. To ensure you are using the latest fixes and features, always use the official repository to install Jenkins, as they are often up-to-date.
- First, we need to add the repository key to the server.
curl -fsSL https://pkg.jenkins.io/debian-stable/jenkins.io.key | sudo tee /usr/share/keyrings/jenkins-keyring.asc > /dev/null
- Now add the Jenkins repository with the following command.
echo deb [signed-by=/usr/share/keyrings/jenkins-keyring.asc] https://pkg.jenkins.io/debian-stable binary/ | sudo tee /etc/apt/sources.list.d/jenkins.list > /dev/null
- Update the server’s repositories so that the apt command can use the new repository.
sudo apt-get update -y
- We need to install the Java package on the server to support Jenkins. Run the following command to install Java.
sudo apt install openjdk-17-jre-headless -y
- After the installation, you can verify that Java is installed with the following command.
java --version
- Finally, we will install the Jenkins package and its dependencies.
sudo apt-get install jenkins -y
- After installation, we need to start the service of Jenkins.
sudo systemctl start jenkins
- To check the status of the Jenkins service.
sudo systemctl status jenkins
Opening the Firewall
If you have configured the Firewall on the server, then you need to allow the Jenkins port through the Firewall. To check the status of the Firewall used the following command.
sudo ufw status
If the firewall is active, then you need to allow the Jenkins port with the following command. Otherwise, skip this step if the Firewall is inactive.
sudo ufw allow 8080
Configure the Jenkins
- To configure the Jenkins, simply visit the Jenkins on its default port 8080, by using your domain name or the Server’s public IP address.
http://domain_or_server_ip:8080
- After entering the above URL in the browser, you will receive an Unlock Jenkins page which displays the location of the initial password.
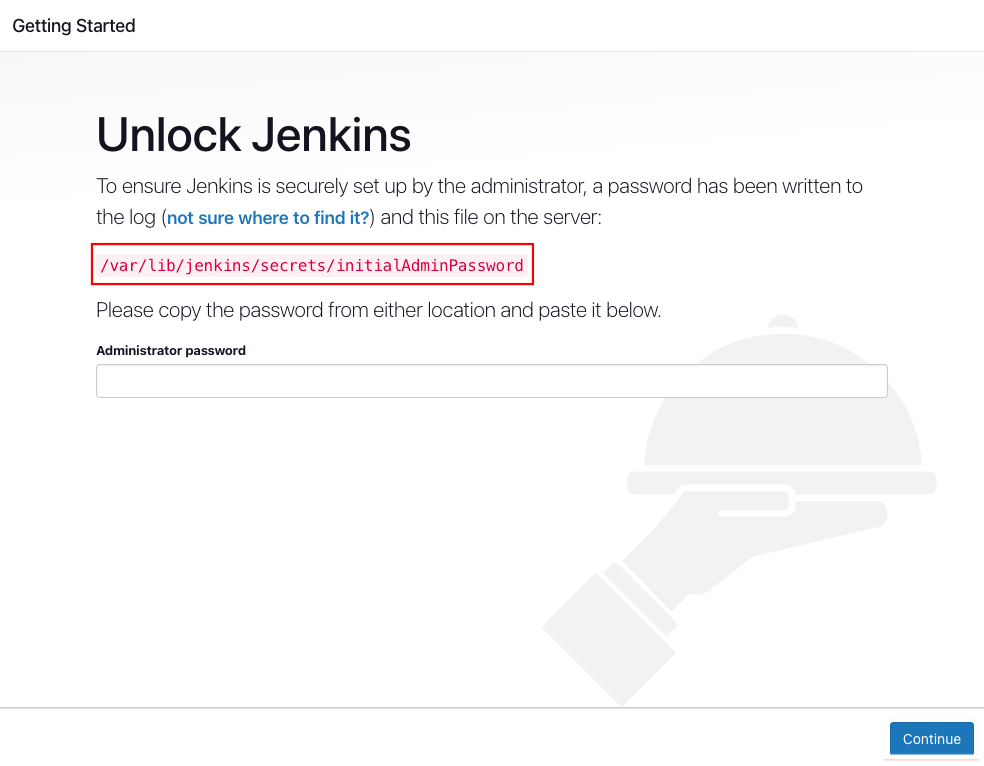
- Run the following command on the terminal to get the initial login password.
cat /var/lib/jenkins/secrets/initialAdminPassword
Copy the password from the terminal and paste it inside the Administrator password field, and then click on the Continue button.
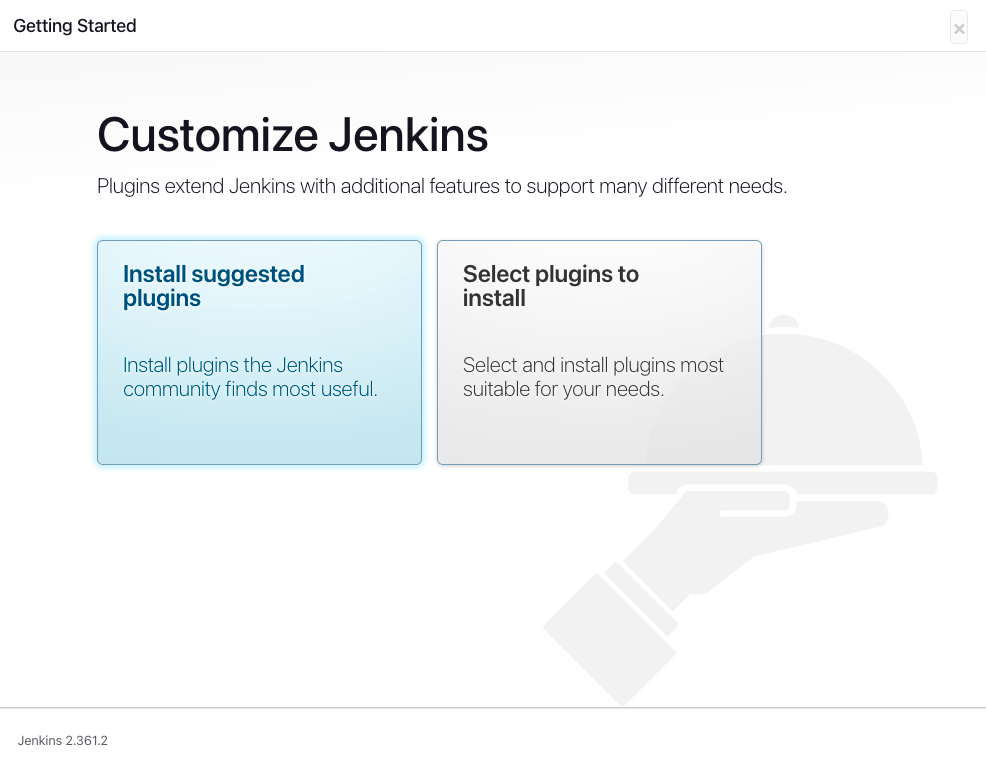
- Now click on the Install suggested plugins option, which will automatically install the required and important plugins.
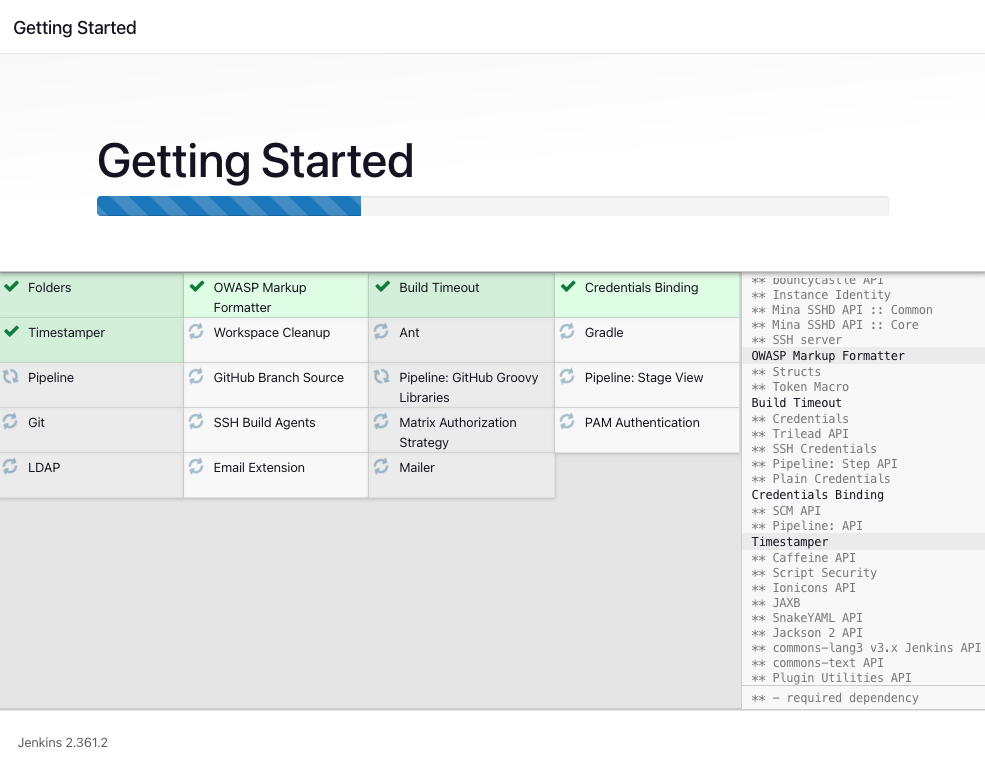
As you guys can see, Jenkins begins the plugin installation process.
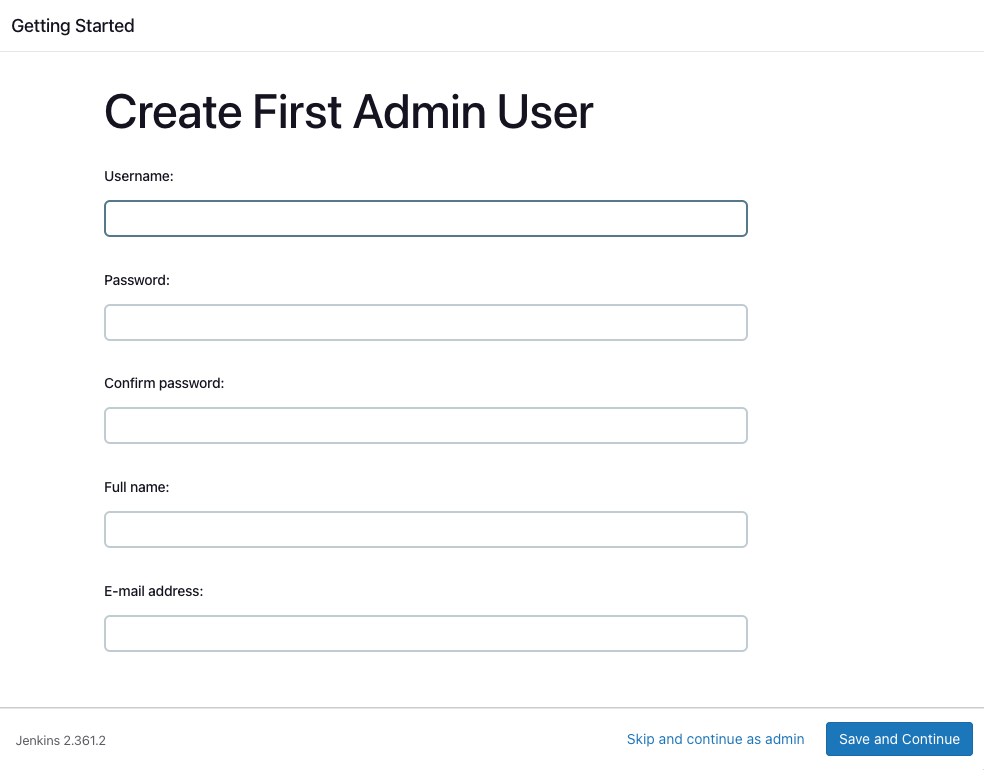
After the installation got completed, you will be prompted to create the first administrative user. If you prefer, you can skip this step and continue as an admin user using the password we used earlier, but we recommend you create a new user for Jenkins.
To create the new admin user, simply enter the Username, Password, Full Name and Email and then click on the Save and Continue button.
After Jenkins got installed, you will receive an Instance Configuration page that asks you to choose your preferred URL. That can be either your domain or your server’s IP. Simply, click on the Save and Finish button.

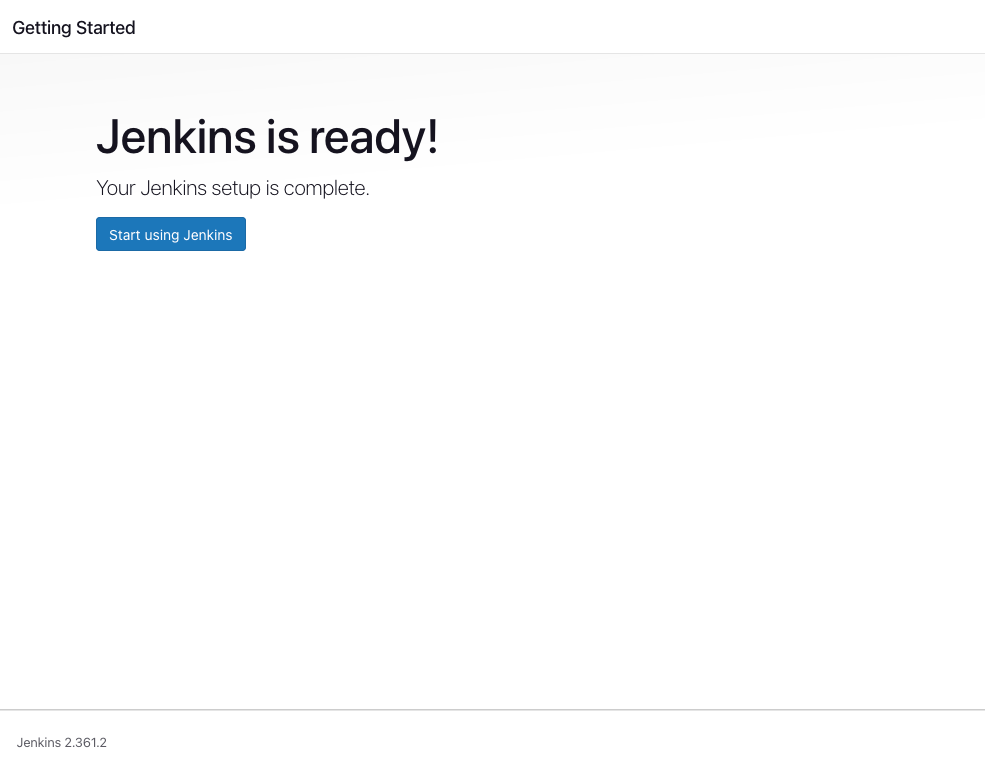
- Click on the Start using Jenkins button.
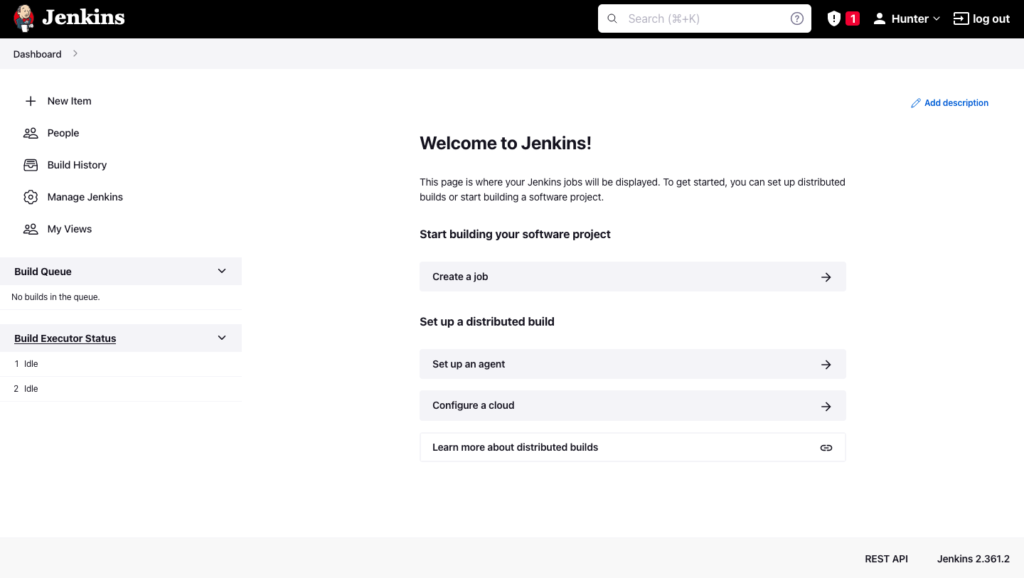
- Now you will be landed on the Dashboard of Jenkins.
Conclusion
Jenkins is one of the most popular software development automation tools available. Users are able to deploy their applications in production environments much faster thanks to its intuitive interface and flexible setting.
We can follow the same tutorial to install Jenkins on 18.04, 20.04, and 22.04, installation ad configuration steps will be the same for all of them.
We hope this tutorial helped you to get a better understanding of Jenkins installation. If you have any queries or questions, then let me know in the comment sections.