

Git is an open-source and free distributed version control system which is designed to manage any type of project, small as well as large. With Git, you can store files and their revision history on your computer. However, you can also use online hosts (such as GitHub or Bitbucket) to store a copy of the files and their revision history.
While coding, you face a fatal error, and you are unable to find out what’s causing it. At that moment with Git you can easily revert all back to the stable state. You can easily track all the changes made to the code over time.
Features of Git:-
- Tracks history
- Scalable
- Open source and Free
- Availability and Redundancy
- Distributed development
- Supports non-linear development
- Branching is easier
- Supports collaboration
- Creates backups
Install the Git on Linux
To install the Git package, we need to follow the below steps.
- Update the server repositories. So, that we can download and install the latest Git packages. Run the following command to update the repositories.
CentOS/Red Hat
sudo yum update -y
Ubuntu/Debian
sudo apt update -y
- Run the following command to install the Git package on the server.
CentOS/Red Hat
sudo yum install git -y
Ubuntu/Debian
sudo apt install git -y
Install the Git on macOS
To install the Git on macOS, follow the below steps.
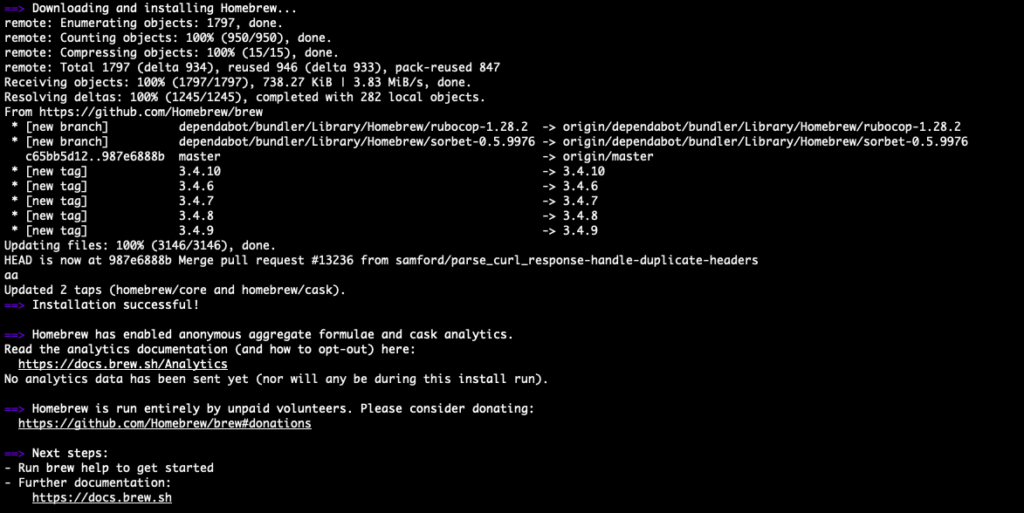
- Run the following command on the Mac terminal to install the Homebrew.
/bin/bash -c "$(curl -fsSL https://raw.githubusercontent.com/Homebrew/install/master/install.sh)"

- Enter the root password and then press the Enter button. A successful installation message should be displayed once the installation is complete.
- Update the Homebrew to the latest stable version with the following command.
brew update
- Finally, run the following command to install Git.
brew install git
Install the Git on Windows
To install the Git on Windows, follow the below steps.
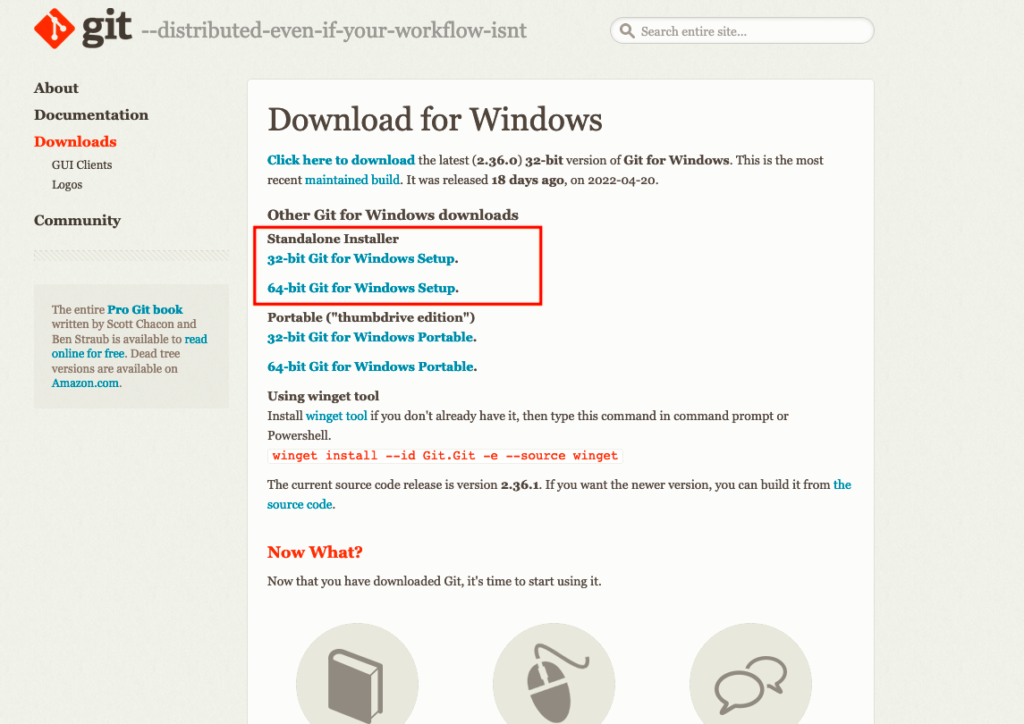
- Navigate to Git’s official download page and select the Git setup as per your Windows operating system.
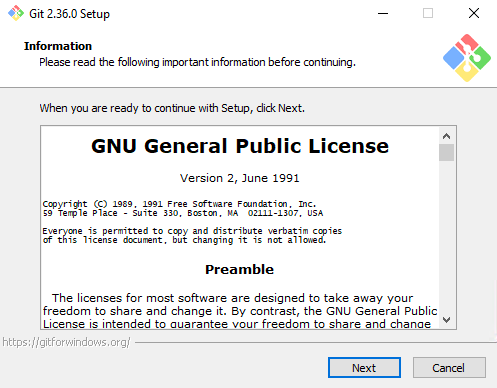
- After downloading, Right click on Git setup and then Run as administrator.

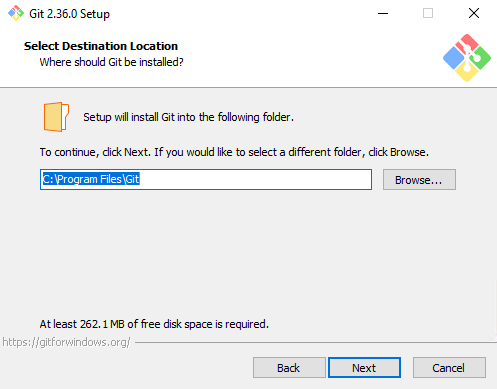
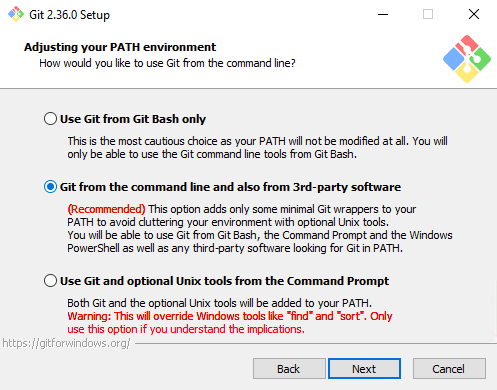
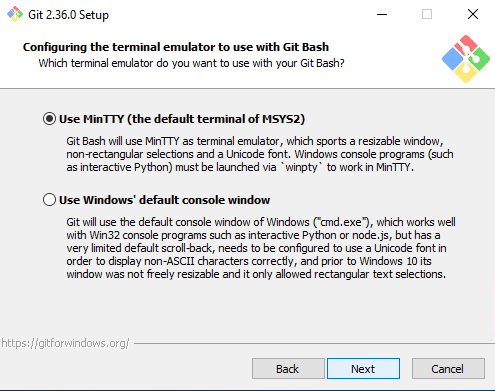
- Click on the Next button.
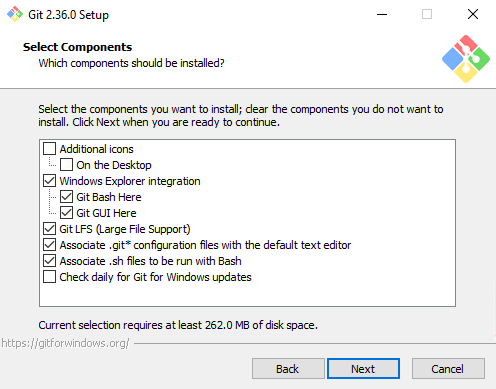
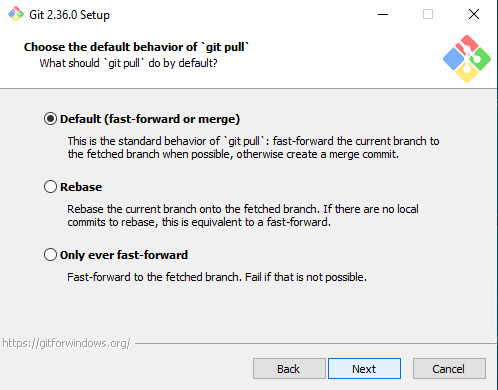
- Click on the Next button.
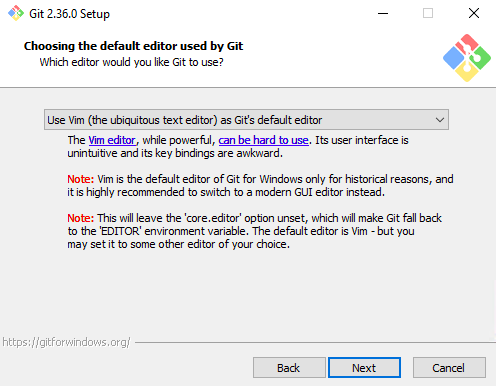
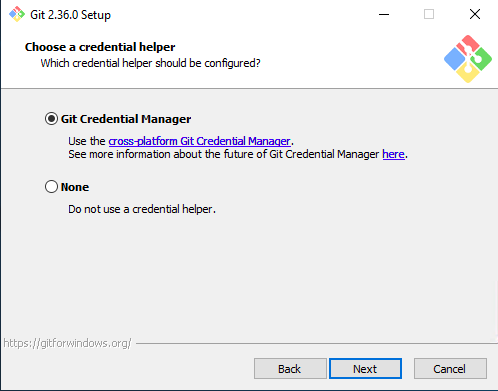
- Click on the Next button.
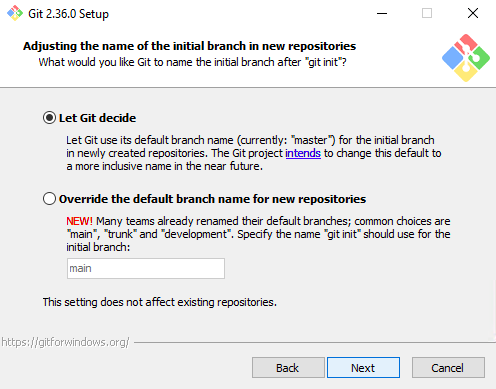
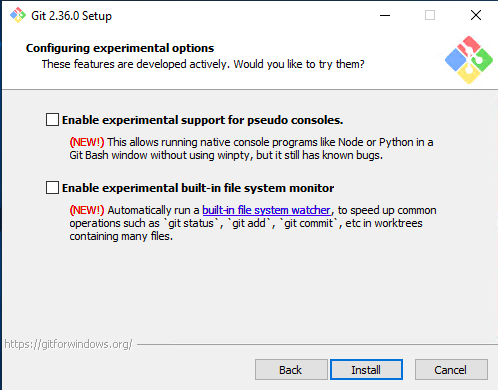
- Click on the Next button.

- Click on the Next button.
- Click on the Next button.
- Click on the Next button.
- Click on the Next button.
- Click on the Next button.
- Click on the Next button.
- Click on the Next button.
- Click on the Next button.
- Click on the Next button.
- Click on the Next button.

- Click on the Next button.
- Click on the Next button.
- Click on the Finish button.
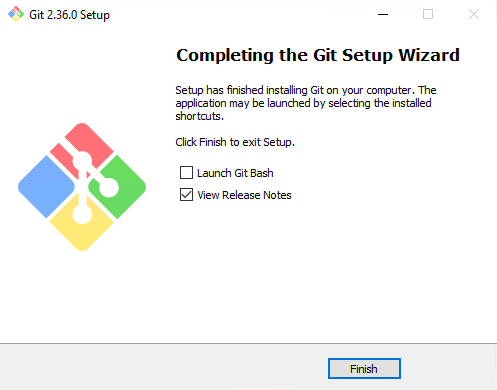
- To check the Git version, open the Windows terminal and run the following command.
git --version

We have successfully installed Git on Windows.
Configure Git on the Command line
After installing the Git package, Now we need to configure the Git to access and manage the Git repositories from the command line. To configure the Git, open the terminal and run the following commands.
Replace the username with your Git username.
git config --global user.name “username”
Replace email_id with your Git mail account.
git config --global user.email “email_id”
Conclusion
In this tutorial, we have learned about Git and its useful features. We have also learned how we can install and configure the Git package on Linux, macOS and Windows operating systems. In the upcoming tutorials, we’ll share more about Git and GitHub.
If you guys have any queries or issues, then let me know in the comments section.