


WHM stands for Web Host Manager. cPanel’s Web Host Manager is a web application that offers you administrative control over the Virtual Private Servers (VPS) or dedicated servers. You can easily create individual accounts, host domains as well as subdomains, and manage the hosting with multiple useful features.
The panel is divided into two parts WHM and cPanel.
- WHM (Web Host Manager) – WHM is an administrative access tool for the backend of the cPanel account. It is the main control panel with manages all the cPanels. The WHM utility can be used to manage many light to heavy sites. It can also be used to sell hosting services and manage multiple cPanel accounts, and users can update, upgrade or downgrade accounts. They can also monitor their bandwidth utilization.
Feature of WHM:-- Create cPanel accounts & hosting packages
- Secure your system at various levels
- View, analyze, & diagnose server stats
- Customize and brand your service
- Migrate new customers with ease
- cPanel – cPanel is a web-based control panel that allows customers to administer their Linux hosting accounts. cPanel can be used to perform all kinds of administrative tasks like building a website, managing emails, changing passwords, setting up mail forwarding, adding and managing subdomains, uploading and managing files, and more.
Feature of cPanel:-- Host a website
- Create emails & calendars
- Backup, transfer & manage files
- Manage domains
- Launch databases
| Operating system and version | Processor | RAM | Disk Space | Architecture |
|---|---|---|---|---|
| CentOS 7 or RHEL 7 | 1.1 GHz | Minimum: 1 GB Recommended: 2 GB | Minimum: 20 GB Recommended: 40 GB | 64-bit |
| AlmaLinux OS 8 | 1.1 GHz | Minimum: 1 GB Recommended: 2 GB | Minimum: 20 GB Recommended: 40 GB | 64-bit |
| CloudLinux 8 | 1.1 GHz | Minimum: 1 GB Recommended: 2 GB | Minimum: 20 GB Recommended: 40 GB | 64-bit |
| CloudLinux 7 | 1.1 GHz | Minimum: 1 GB Recommended: 2 GB | Minimum: 20 GB Recommended: 40 GB | 64-bit |
| CloudLinux 6 | 1.1 GHz | Minimum: 768 MB Recommended: 1 GB | Minimum: 20 GB Recommended: 40 GB | 64-bit |
| Ubuntu 20.04 LTS | Minimum: 1.1 GHz Recommended: 2 GHz | Minimum: 1 GB Recommended: 4 GB | Minimum: 20 GB Recommended: 40 GB | 64-bit |
Prerequisites
- Fresh server with Ubuntu 20.04 operating system.
- Access of Root user or another user with Sudo privileges.
Update the Server repositories
Before starting the Panel installation, we need to update all the repositories and packages on the server. Run the following command to update the repositories and packages.
sudo apt update -y
Install pre-required packages
There are some pre-required packages that are required for the WHM/cPanel installation. Run the following command to install the pre-required packages.
sudo apt install vim screen wget curl -y
Now we need to install the Perl packages on the server.
sudo apt install perl perl-base -y
Set Hostname- fully qualified domain
A fully qualified hostname on the server is required to install WHM/cPanel. Run the following command to set a fully qualified hostname on the server.
sudo hostnamectl set-hostname server.domain.com
WHM/cPanel installation
Use the screen command to run the installation script in the screen session to avoid any type of interruption because the installation script will take about 10 to 15 minutes to completely install and configure the WHM/cPanel on the server.
sudo screen
Now download and execute the WHM/cPanel installation script with the following command.
cd /home && sudo curl -o latest -L https://securedownloads.cpanel.net/latest && sudo sh latest
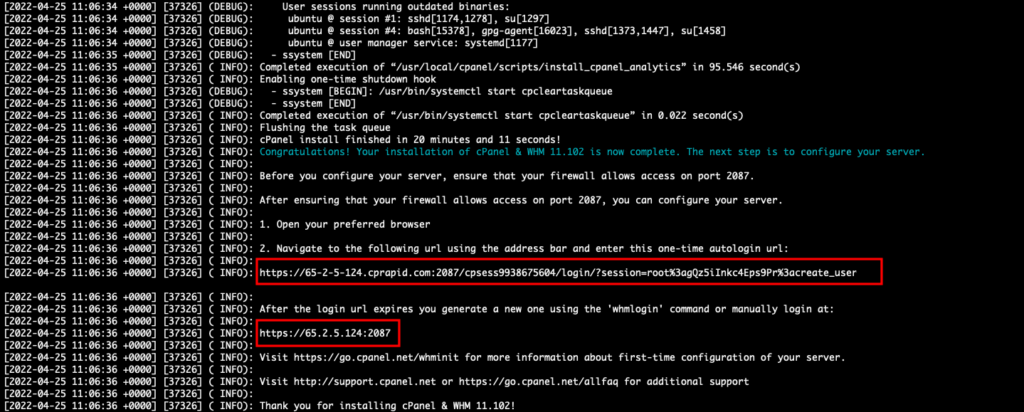
After executing the script, you will get an output like this.

After the installation script got completed, you will get two links for login to the server. The first is a one-time URL to log in without entering the password and the second one is to log into the server with the server’s Root and password.
Setup WHM Panel
Always make sure that the ports required by the WHM and cPanel are whitelisted in the network firewall if you are using some cloud platform like Digital Ocean, AWS EC2, LightSail, Google Cloud, or any other.
Port required for WHM/cPanel
- cPanel – 2082
- cPanel – SSL 2083
- WHM – 2086
- WHM – SSL 2087
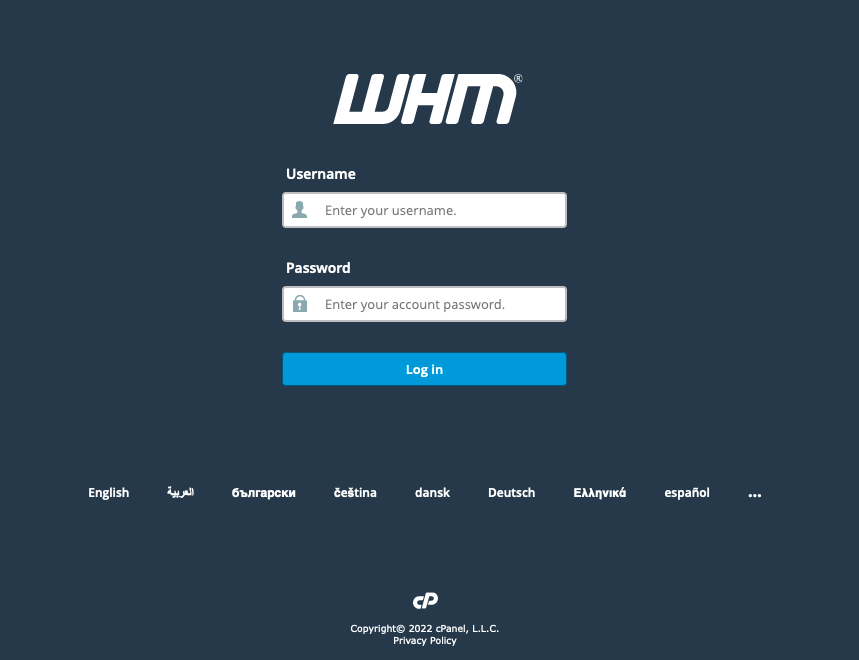
Enter the following URL in the browser to log into the WHM with the server’s Root and password
https://Server_IP:2087
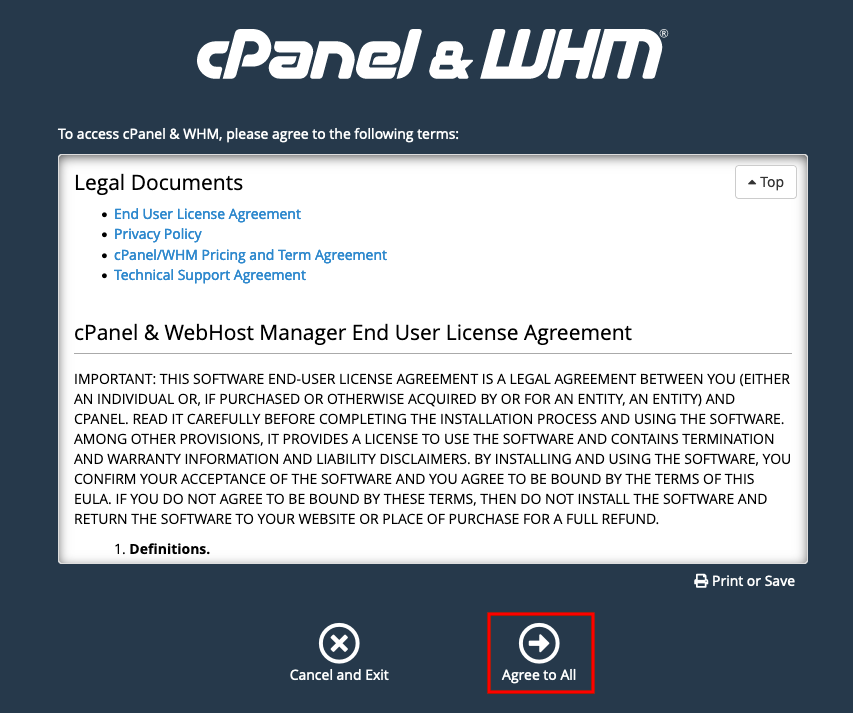
Click on Agree to ALL button.
Now click on the Log in button.

Now create an account to get a 15-day free trial license.
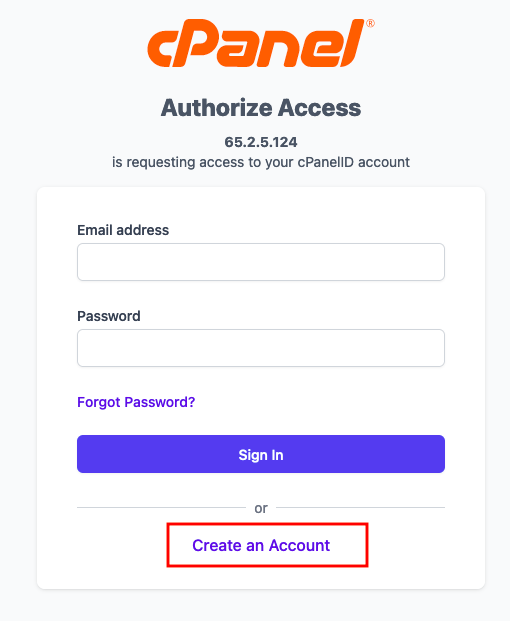
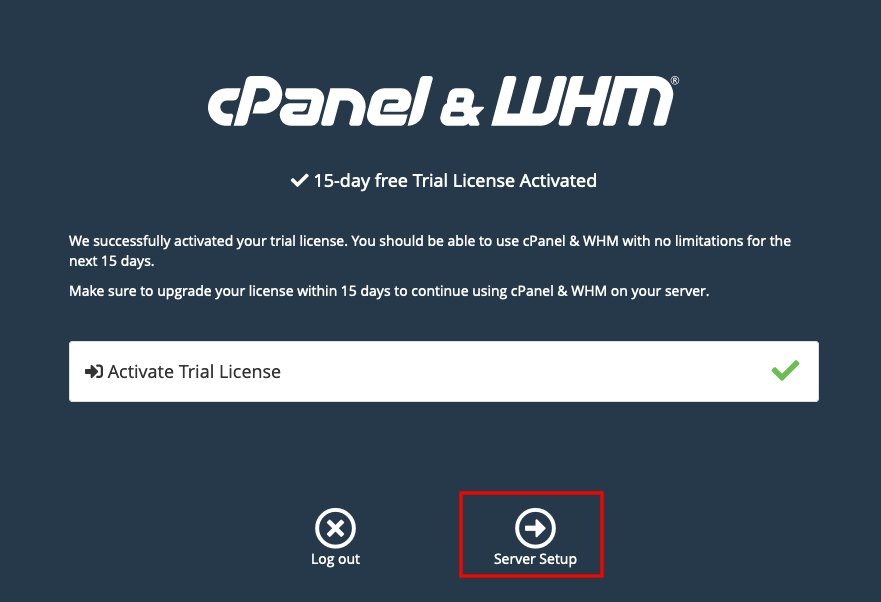
After successfully creating the Account on cPanel, you will get a 15-day free trial license. Now click on the Server Setup button to activate the Trial License.
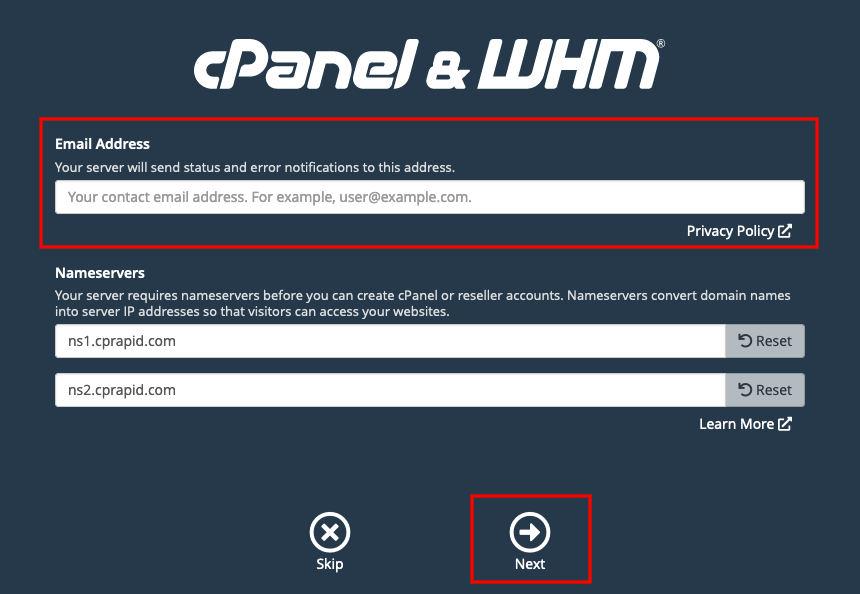
Now enter the Email Address and click on the Next button.
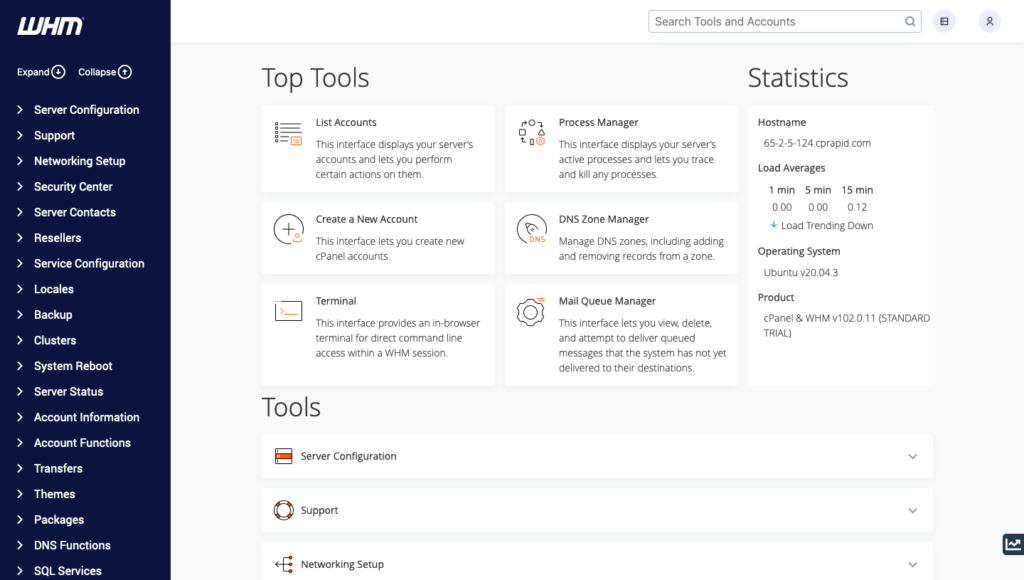
After successfully configuring the WHM on the server, you will land on the Home page of the WHM.
Create a New cPanel Account
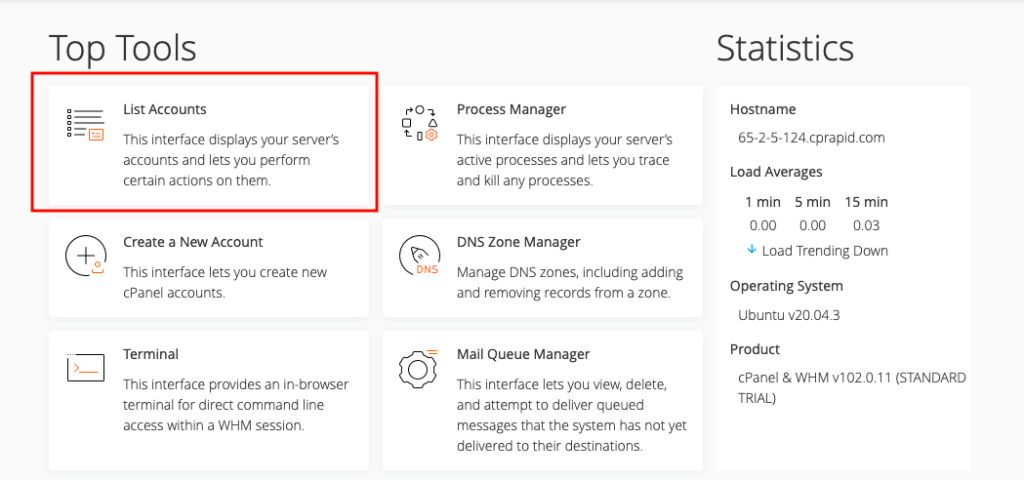
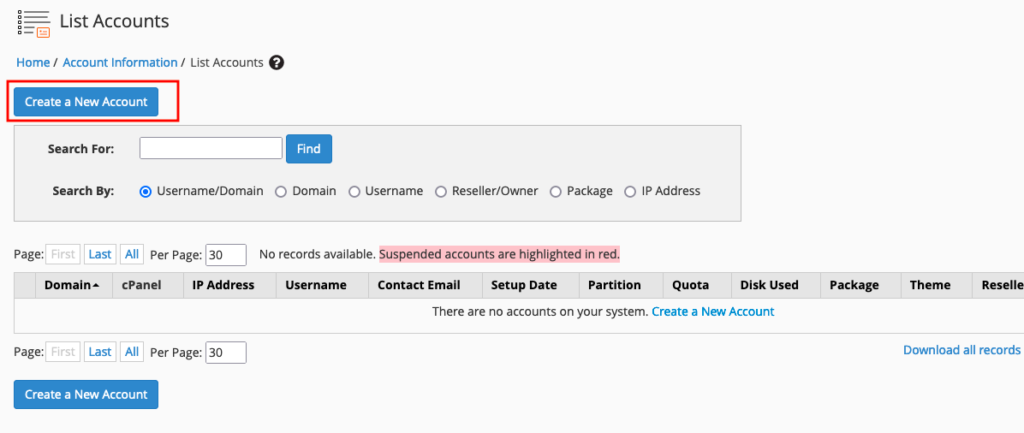
Now we will see how we can create a new cPanel account or host a domain on the WHM. Click on the List Accounts option present on the home page of the WHM.
Click on the Create a New Account to create a new cPanel account.
Enter the Domain, username, password, and E-mail address. Rest all the configurations will be set as default. Click on Create button.

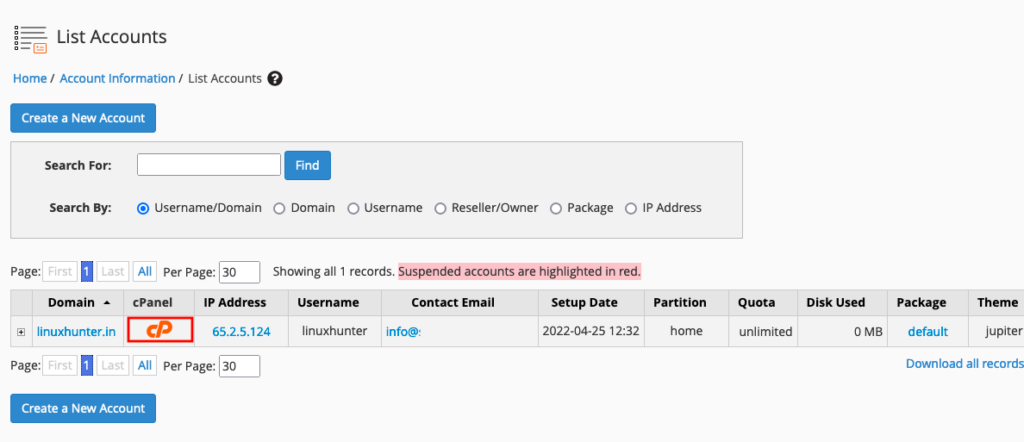
Click on the List Accounts option present on the home page of the WHM, then click on the cPanel icon to open the newly created cPanel.
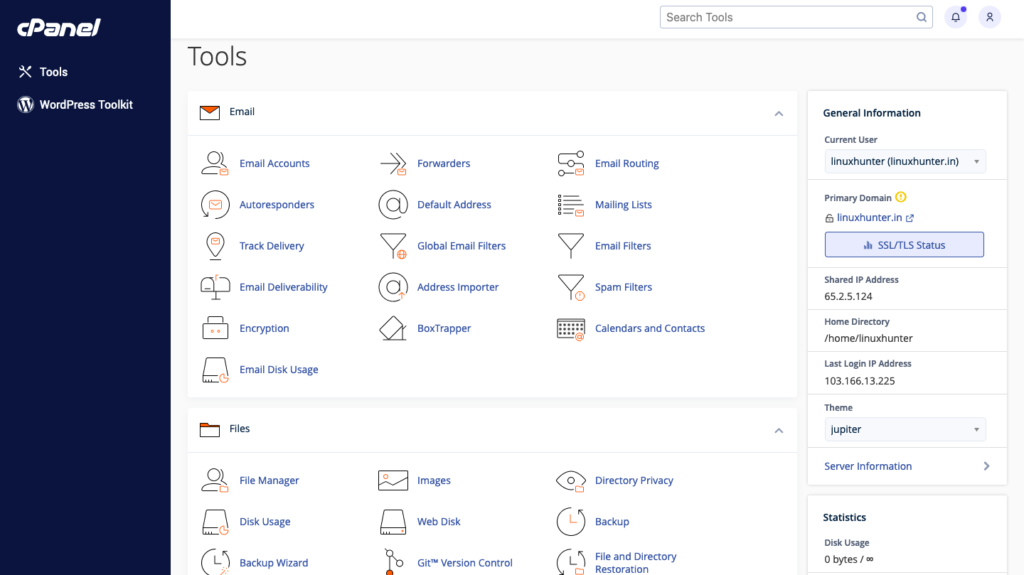
After clicking on the cPanel icon, you will land on the cPanel account which you have created.
Conclusion
In today’s tutorial, we have learned about the WHM and cPanel with their features, and how we can install WHM/cPanel on the Ubuntu20.04. We have also learned how we can create a new cPanel account and host a new domain on the cPanel.
If you guys have any questions related to this tutorial, let me know in the comments section.