


GitHub is a cloud-hosted version control system for Git. Git is a distributed version control system, which means you can store the entire repository anywhere you want. Many companies and developers use GitHub for backups of their repositories during their development or business workflows.
For backing up all your code, GitHub is a convenient method. It also allows you to browse and display your code very effectively on the web.
Prerequisites
- Access to a Free GitHub account
- Git must be installed on your local system or the server.
- Root user or another user with Sudo privileges
Read Also: How to setup ssh key on GitHub
Create Git Repository
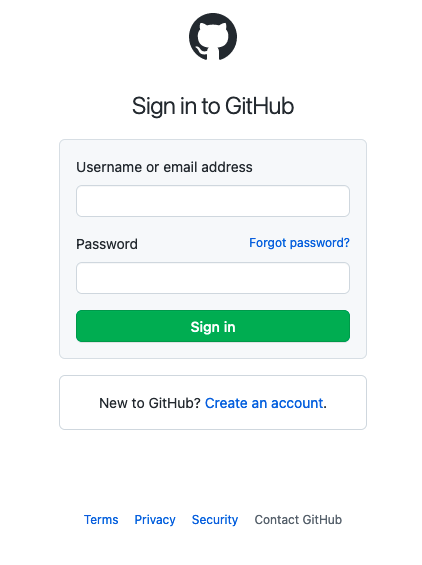
To create the Git repository, log into your account on GitHub. If you are a new user, then you can sign up to create a new account. (As an alternative, you can also use Bitbucket. But for this tutorial, we are using GitHub.)
- Enter the Username and the password to log into the GitHub account.
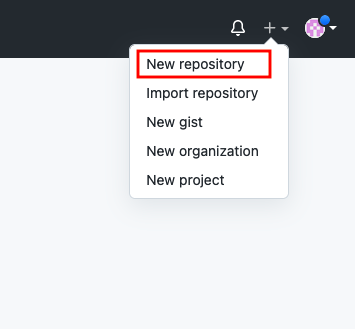
- After login, click on the New repository option.
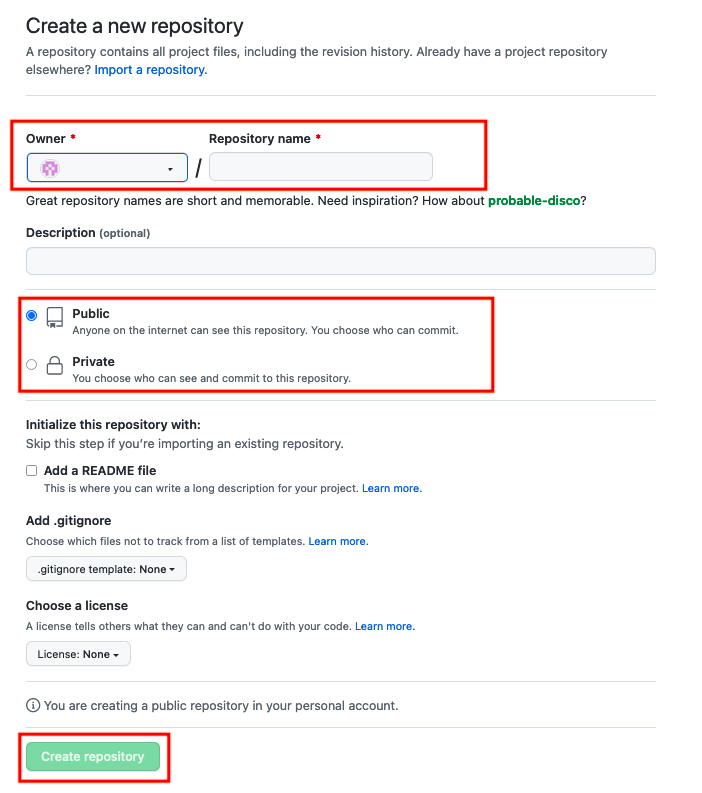
- Enter a name for the Repository, choose the visibility (Public and Private) and then click on the Create Repository button.
Generate authentication token
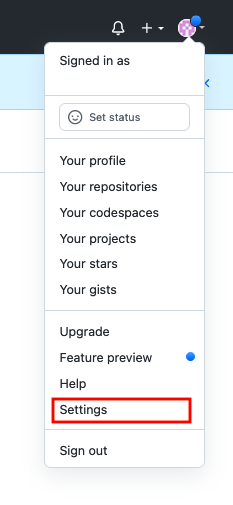
The authentication token is required to access and manage the Git repositories. To generate the access token, follow the below step.
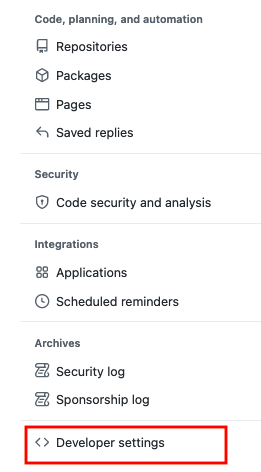
- Navigate to GitHub settings.
- Click on the Developer settings option from the list present on the left side.
- Select the Personal access tokens option and then click on Generate new token button to generate the access token.

- Create a Note for the token then select the Expiration, choose the appropriate permission, and then click on Generate token.
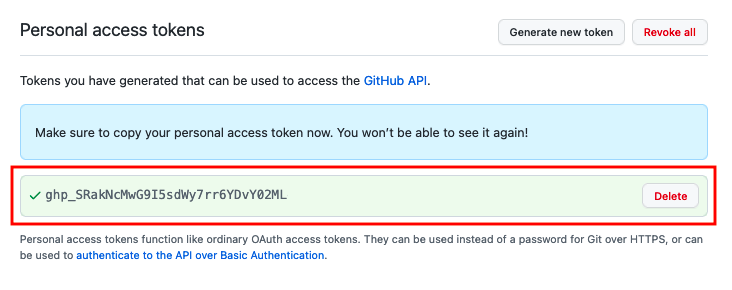
Copy and save the Authentication token
Create a project
First, we need to add a project directory with the following command.
mkdir first_project
Change your current directory to the first_project directory.
cd first_project
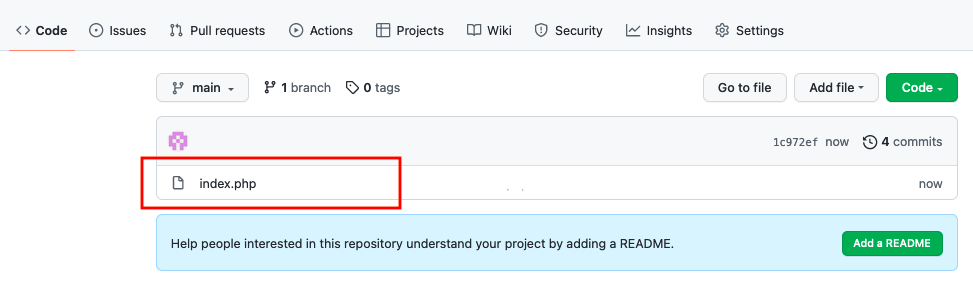
Now create an index.php file and enter the following data in the file.
<!DOCTYPE html>
 <html lang="en">
 <head>
 <meta charset="utf-8"/>
 </script>
 </head>
 <body>
 <h1>We are working on the GitHub</h1><br>
 </body>
 </html>
Push to Git repository
Now we will upload the project which we have created earlier with the help of the push command. To upload the project to the Git repository, follow the below steps.
- Switch to the directory you want to push to the GitHub repository by typing the cd command. Next, execute the following command to begin the Git process.
git init
- Add the files and directories which you want to push with the following command.
git add .
- In the next step, we will commit a message. Run the following command to commit.
git commit -m "first commit"
With the above command, we have committed the git code locally, now we will take it to the GitHub repository.
- To commit the git code to the GitHub repository, run the following command.
git remote add origin https://github.com/username/repo_name.git
Replace the username and repo_name with your Git project name and Repository name, which we created earlier.
- Select the branch in which you want to push. Run the following command branch name. We are using the main branch to push the Git code.
git branch -M main
- Now push the code to the Git repository with the following command.
git push -u origin main
- A prompt will open and ask you to enter the GitHub username and the password as shown below. Password authentication was removed on 13 August 2021 by GitHub. In the place of the password, we need to use the authentication token which we generated earlier.

We have successfully pushed the git code on the GitHub repository.
Conclusion
In today’s tutorial, we learned about Git and GitHub’s importance and how we can push (Upload) our project to the GitHub repository with just simple steps. In the upcoming tutorials, we’ll share more about Git and GitHub.
If you guys have any queries or issues, then let me know in the comments section.