


Nginx is one of the most popular and widely used web servers all over the world. Nginx has several functionalities such as a load balancer and a reverse proxy etc. When compared to Apache, it is extremely fast. Nginx is a lightweight and easier-to-scale web server. Nginx manages all the domains with the help of virtual hosts (server blocks). On a single server, we can host multiple websites by defining multiple virtual hosts.
In today’s tutorial, we’ll learn how to set up Nginx’s Virtual host to serve website content.
Prerequisites
- Server with Ubuntu 18.04 / 20.04
- Root user or another user with Sudo privileges
Create Nginx Document Root Directory
- Create the document root with the mkdir command by using the -p attribute.
sudo mkdir -p /var/www/tectutorials.com/public_html
- Use the $USER environment variable to change the ownership of the document root with the chown command.
sudo chown -R $USER:$USER /var/www/tectutorials.com/public_html
- Set the right permissions on the document root.
sudo chmod -R 755 /var/www/tectutorials.com/public_html
Create a Demo Page for the Domain
- Create an index.html file inside the document root with the vim editor command.
sudo vim /var/www/tectutorials.com/public_html/index.html
- Enter the following content inside the index.html file
<html>
<head>
<title>Welcome to tectutorials.com!!!!!</title>
</head>
<body>
<h1>Congratulation! Your Nginx virtual host is working!</h1>
</body>
</html>
Create Nginx Virtual Host
We need to create the virtual configuration with proper instructions to serve the content of index.html.
- Run the following command to create the virtual configuration.
sudo vim /etc/nginx/sites-available/tectutorials.com.conf
- Enter the following content inside the virtual configuration.
server {
listen 80;
listen [::]:80;
root /var/www/tectutorials.com/public_html;
index index.html index.htm index.nginx-debian.html;
server_name tectutorials.com www.tectutorials.com;
location / {
try_files $uri $uri/ =404;
}
access_log /var/log/nginx/tectutorials.com.access.log;
error_log /var/log/nginx/tectutorials.com.error.log;
}
- Now, it’s time to enable the virtual configuration by creating the symbolic link in the sites-enabled directory.
sudo ln -s /etc/nginx/sites-available/tectutorials.com.conf /etc/nginx/sites-enabled/tectutorials.com.conf
- Run the following command to test whether the virtual configuration is error free or not.
sudo nginx -t

- Run the following command to restart and check the Nginx service.
sudo systemctl restart nginx
sudo systemctl status nginx
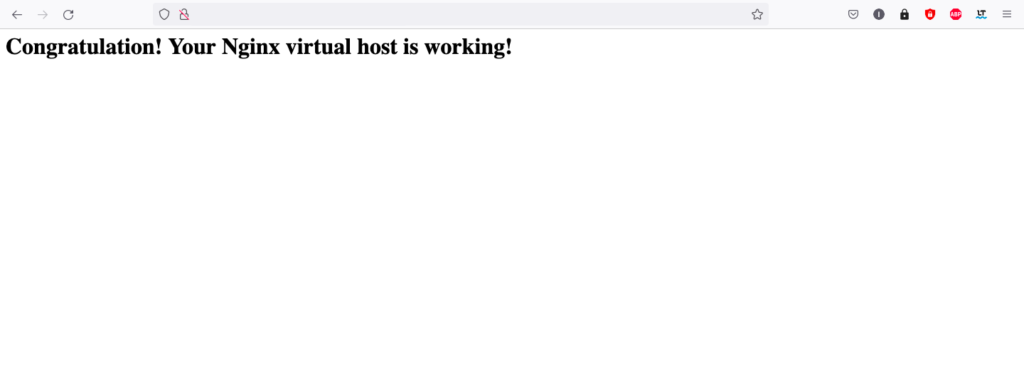
Test the Nginx Server Virtual Host
Now test whether the virtual configuration is perfectly working or not. Enter the domain name in the browser, you will get an output like this.
Conclusion
In this tutorial, we have learned how we can configure the Nginx virtual host (Server Block) to server the content of the Demo page. With multiple different virtual hosts, we can host multiple websites on a single server.
If you guys have any queries related to this tutorial, let me know in the comments section.