


Nginx is one of the popular and mostly used Web servers. Nginx offers a variety of features such as load balancer, reverse proxy, etc. It is very fast as compared to Apache. Nginx is lighter and easy to scale. Nginx uses a virtual host (server blocks) to manage the domains. Virtual hosts, allow one server to host multiple websites.
In today’s tutorial, we will learn how to configure the Virtual host in Nginx to host the content of a website.
Prerequisites
- Server with CentOS 7 operating system
- Root user or another user with Sudo privileges
- Nginx web server on CentOS 7 instance
Disable the SELinux (Default Firewall)
- To disable the SELinux temporarily, run the following command.
setenforce 0
Note:- If we reboot the server, then SELinux will become active again.
- If you want to disable the SELinux permanently, run the following command.
vim /etc/sysconfig/selinux
Replace the SELinux=enforcing to SELinux=disabled.
Create Nginx Document Root Directory
- To create the document root, use the mkdir command with the -p attribute.
sudo mkdir -p /var/www/tectutorials.com/public_html
- Change the ownership of the document root directory with the $USER environment variable.
sudo chown -R $USER:$USER /var/www/tectutorials.com/public_html
- Assign the right directory permissions recursively to the document root.
sudo chmod -R 755 /var/www/tectutorials.com/public_html
Create a Demo Page for the Domain
- Now we are going to create the index.html file inside the document root to show the demo content.
sudo vim /var/www/tectutorials.com/public_html/index.html
- Enter the following data inside the index.html file.
<html>
    <head>
        <title>Welcome to Tectutorials.com tutorial!!!!!</title>
    </head>
    <body>
  <h1>Congratulation! Your Nginx virtual host is working!</h1>
    </body>
</html>
Create Nginx Virtual Host
To serve the content of the index.html file on the domain. We need to create a virtual configuration file with the appropriate instructions.
- To create the virtual configuration file, run the following command.
sudo vim /etc/nginx/conf.d/tectutorials.com.conf
- Enter the following data inside the virtual configuration file.
server {
        listen 80;
        listen [::]:80;

        root /var/www/tectutorials.com/public_html;
        index index.html index.htm index.nginx-debian.html;

        server_name tectutorials.com www.tectutorials.com;

        location / {
                try_files $uri $uri/ =404;
        }


    access_log /var/log/nginx/tectutorials.com.access.log;
    error_log /var/log/nginx/tectutorials.com.error.log;

}
- To check the configuration which you have entered above is correct and error free, then run the following command.
sudo nginx -t

- Restart and check the Nginx service.
sudo systemctl restart nginx
sudo systemctl status nginx
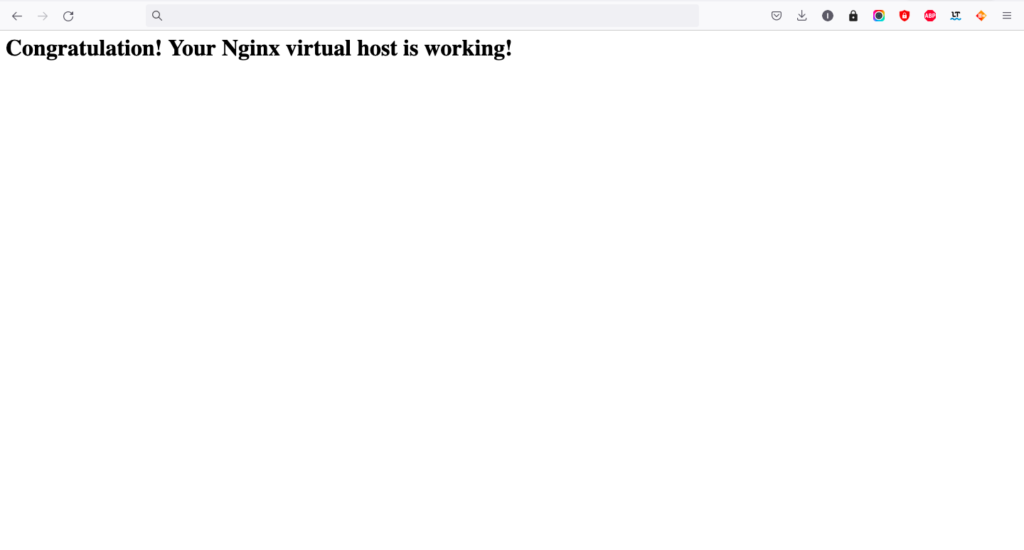
Test the Nginx Server Virtual Host
To test whether the virtual host is working or not. Enter the Domain name in the browser. You will get the following output if the virtual host is perfectly working.
Conclusion
In today’s tutorial, we have learned how to configure the virtual host (Server blocks) to serve the content of the website. We can host multiple websites on a single server by creating a different virtual host for every domain.
If you guys have any queries related to this tutorial, let me know in the comments section.